The Print Pro software is included with the OmniPrint i2 printer package, providing a robust set of tools to “rip” your images for DTG and DTF printing.
Print Pro can be installed onto any number of Windows PCs, but can only be used on one PC at a time.
Use the following instructions to reinstall the software or to install it onto another PC, and to configure it for use with the OmniPrint i2.
Installation Video
Installation Steps
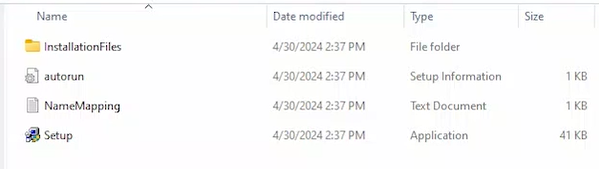
- Insert the Print Pro USB thumb drive into a USB port on your Windows PC, then open Windows File Explorer and navigate to the thumb drive.
- You may alternately copy the contents of the thumb drive to the PC and direct File Explorer to that location.
- You may alternately copy the contents of the thumb drive to the PC and direct File Explorer to that location.
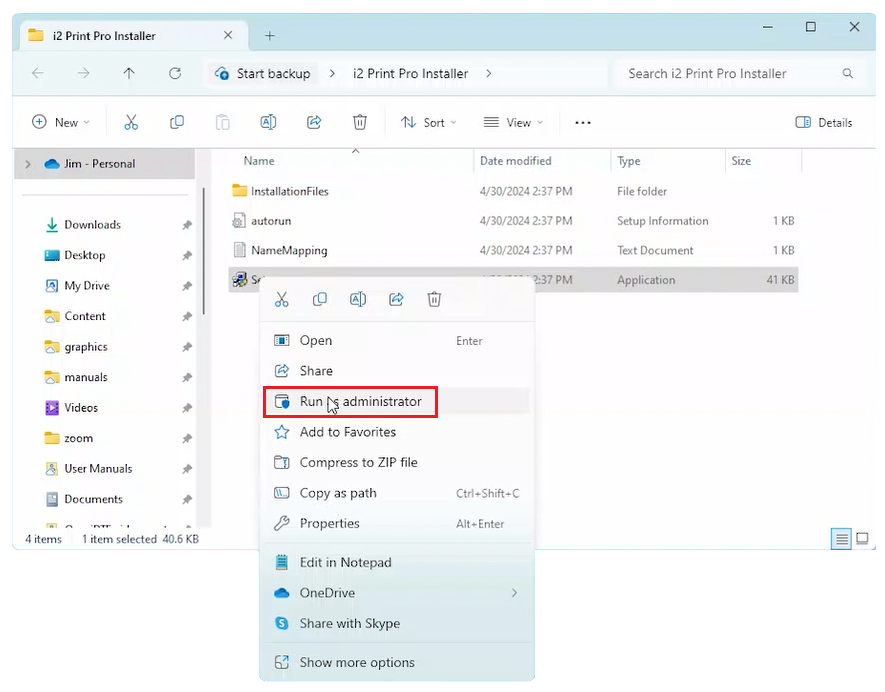
- Right-click on the Setup program, then select Run as administrator.
- Click Next at the first two prompts.
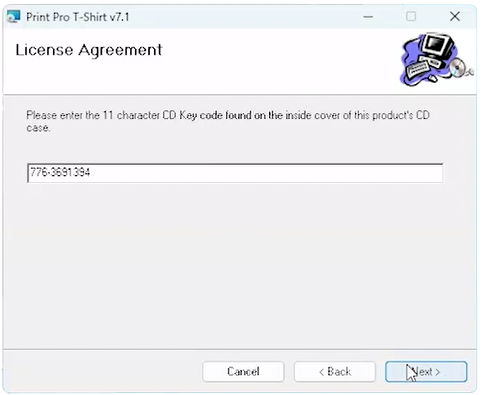
- Select I Agree on the License Agreement screen to continue the installation, then click Next.
- When prompted to enter the CD Key code, type the following (including the hyphen), then click Next: 776-3691394
- Enter any information you like into the Name and Company fields, followed by the Print Pro software’s serial number, as shown on the plastic case that the software’s USB thumb drive and security key (“dongle”) devices came in.
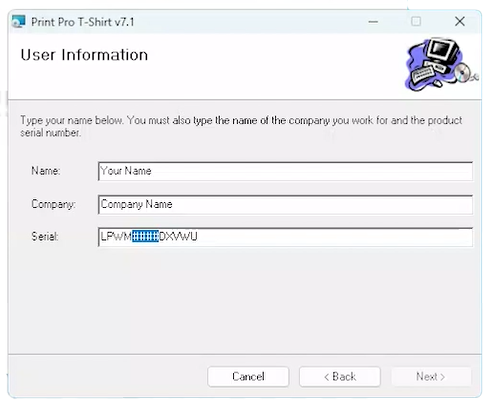
The serial number will be in the following format: LPWM####DXVWU where the “####” is replaced with 4-numbers, which are also found on the thumb drive and dongle. - Accept the default installation on the next screen. You may also accept the default setting of “Just me” or “Everyone” on the same screen.
Your selection will depend on whether you want to restrict access to Print Pro to only users logged in to Windows using the current login credentials in use or to make Print Pro available to anyone using the PC with any login credentials.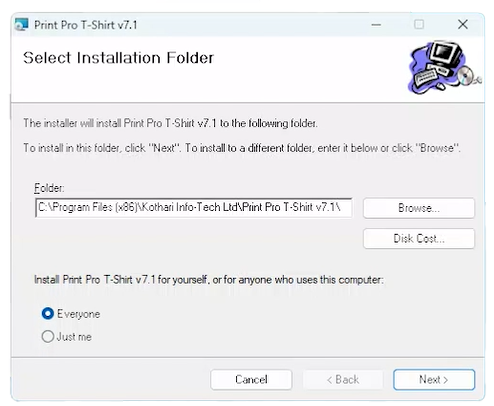
Click Next when ready to proceed with the installation, then click Next again on the following screen. - Click Close on the Installation Complete screen.
- When prompted to install the HASP Driver, click Yes.
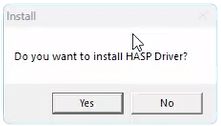
This prompt may have appeared behind other program’s windows on the Windows Desktop, so if you don’t see it then minimize any running programs until the HASP Driver installation prompt appears.
When the HASP Driver installation is finished, Print Pro is fully installed.
Continue with the quick & easy Print Pro configuration process detailed below to prepare it for use with your OmniPrint i2 printer.
Configuration Video
Recommended Configuration Steps
The following steps, though not required, are recommended to provide a clear workspace and eliminate visual distractions within Print Pro.
- Close the Layout window by going to the Home tab and clicking its toolbar’s Close Layout button.

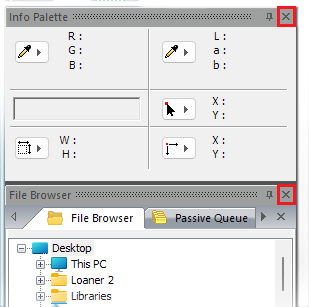
- Close the Info Palette and File Browser window panels by clicking on the ‘x’ in their upper-right corners.
- Close the Context Help window panel.
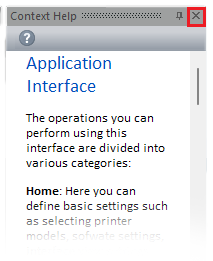
These closed panels (and others) can be displayed again by click on the Home tab’s Panels tool, then selecting any desired item in the dropdown list.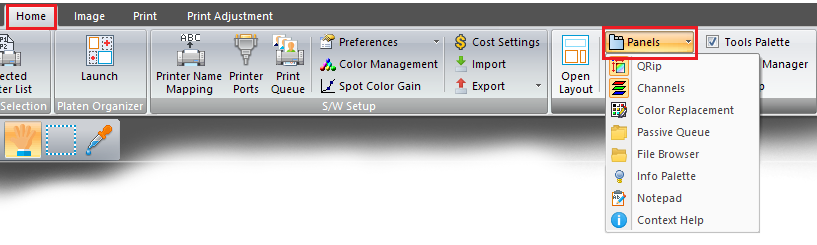
- Enter the per liter ink cost so that Print Pro can provide you with the total cost of ink for printing any sized and configured design.
– Click Cost Savings on the Home tab tollbar.
– Enter the cost for a liter of ink for each color, then click the green checkmark.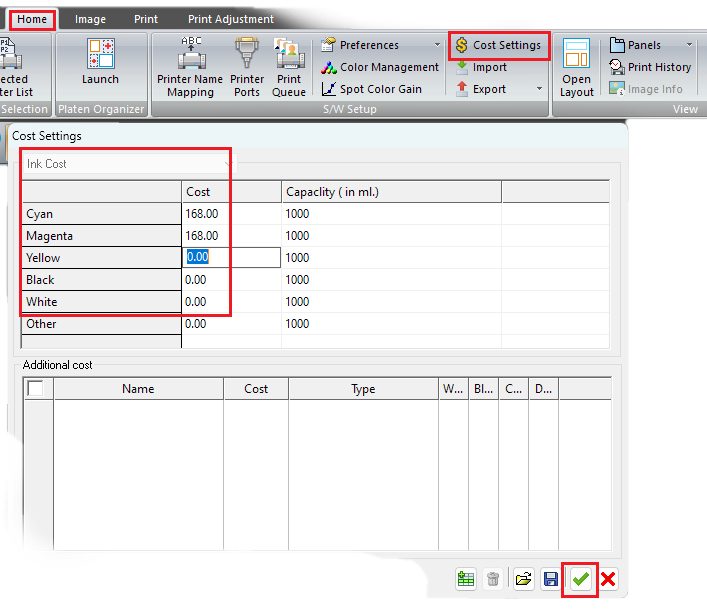
Required Configuration Steps
The below steps are required for using Print Pro with the OmniPrint i2. Details of the OmniPrint i2 workflow and the related purpose are explained following the description of the steps, for those interested in that information.
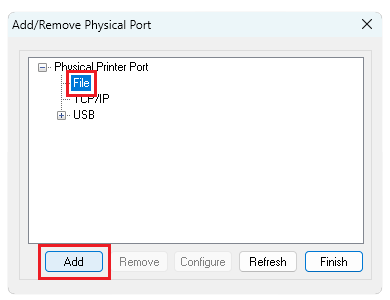
- Select Printer Ports on the Home tab tool bar.

The Add/Remove Physical Port window appears. - Select File then click the Add button.
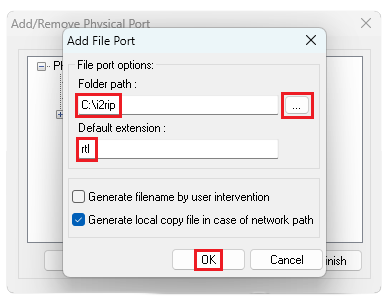
The Add File Port window appears. - Click the ellipses (“…”) button to the right of the Folder path textbox to select a folder where all rip files will be saved.
- You will have an option to create a new folder, such as the recommended “i2rip” folder at “C:\”.
- Enter “rtl” in the Default extension textbox, then click the OK button.
The Add File Port window closes. - Click the ‘+’ sign to the left of File to confirm that your selected folder and file extension entries were saved, then click the Finish button to close the Add/Remove Physical Port window.
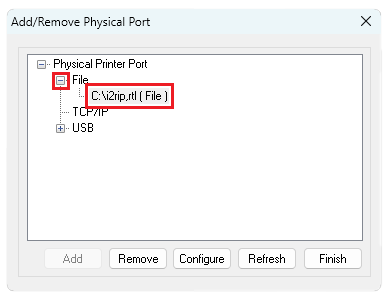
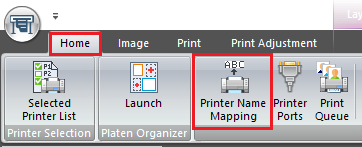
- Select Printer Name Mapping on the Home tab’s toolbar.
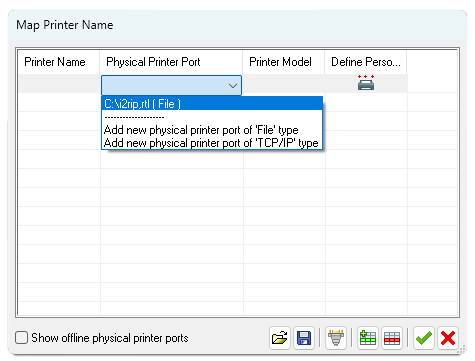
The Map Printer Name window appears. - Double-click on the first row below the Physical Printer Port column heading, then click on the down-caret symbol that appears at the right end of the field and select ‘C:\i2rip,rtl ( File )‘.
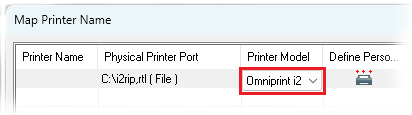
- Double-click on the first row below the Printer Model column heading, then click on the down-caret symbol that appears at the right end of the field and select Omniprint i2.
- Double-click on the first row below the Printer Name column heading, then enter any name that you’d like for the printer to be known as in Print Pro, then click the green checkmark. For our example we’re simply using “i2”.
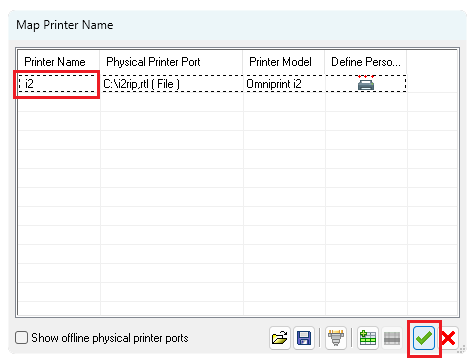
The Map Printer Name window closes.
The Print Pro configuration process is now complete and Print Pro is ready for use with the OmniPrint i2.
i2 workflow & RIP file placement
The i2 workflow separates the processes of “ripping” images and printing them. In this workflow, first the artwork to be printed is loaded into Print Pro where its desired printing dimensions are sized and printing parameters defined by selecting an Environment (a collection of presets). When Print Pro receives commands to print, it “rips” (processes) the currently loaded image and creates rip files which are saved to the PC’s storage.
Once a rip is completed, the i2 UI software is used to load the rip file, position the image within the dimensions of the printer’s platen, and then send the print job to the printer.
Our required configuration steps in Print Pro are essentially telling the software that it will be sending rips to a file (rather than directly to a printer) and where in the PC’s file system to save rips.
Not finding what you need?
You can contact our technical support team by sending an email to support@omniprintonline.com with your company name, contact name, phone number, printer serial number, and a quick description of how we can help you.
This will automatically open a support case for you in our ticketing system and a technical support rep will follow up with you shortly.