The OmniPrint i2 printer communicates with its controlling PC over both Ethernet and USB 3.0, and requires an enhanced USB driver — the FTDI driver, which is included with the printer.
See the below video or the following step-by-step instructions to reinstall the driver, or to install it onto a new PC.
Video Demonstration
Step-by-Step Instructions
- Copy the ftdi folder from the USB thumb drive provided with your printer to your Windows PC, then open the copied folder in Windows File Explorer.

- Open Windows’ Device Manager, then expand the Universal Serial Bus controllers section in Device Manager.
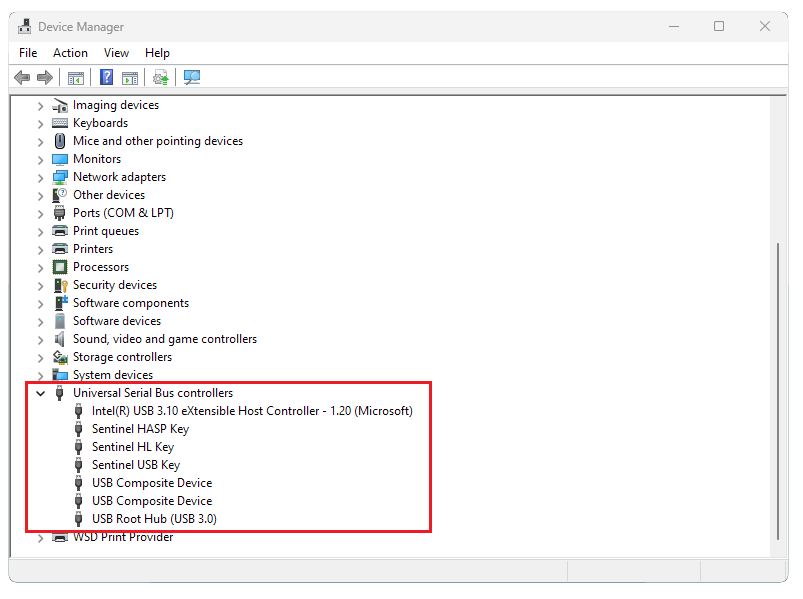
- Connect your i2 to a USB 3.0 port on your printer using the provided cable, then turn the i2 on.
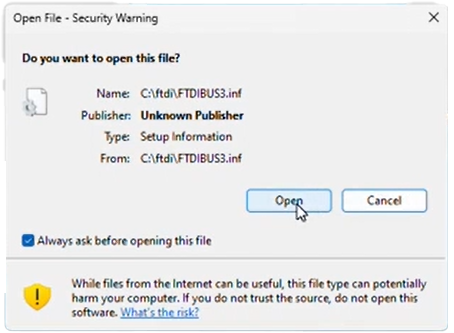
- Right click the FTDIBUS3.inf filename in the previously opened folder in File Explorer, then click Install.

- Click Open on the dialog that appears, and proceed when prompted by Windows.
This concludes the installation process.
You will now have a new FTDI FT 601 USB 3.0 Bridge Device entry in the Universal Serial Bus controllers section of Device Manager.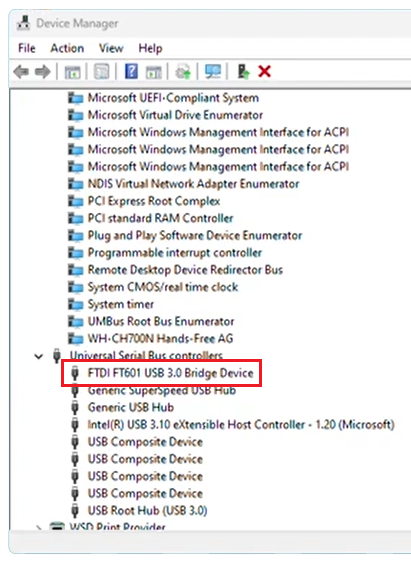
Not finding what you need?
You can contact our technical support team by sending an email to support@omniprintonline.com with your company name, contact name, phone number, printer serial number, and a quick description of how we can help you.
This will automatically open a support case for you in our ticketing system and a technical support rep will follow up with you shortly.