The i2 UI (user interface) software is used to control, adjust, and maintain the system, as well as to send ripped print jobs to the OmniPrint i2 printer.
The below video and the following step-by-step instructions demonstrate the easy & quick process of installing the software, and one small configuration setup that we make once it’s installed.
Demonstration Video
Step-by-Step Instructions
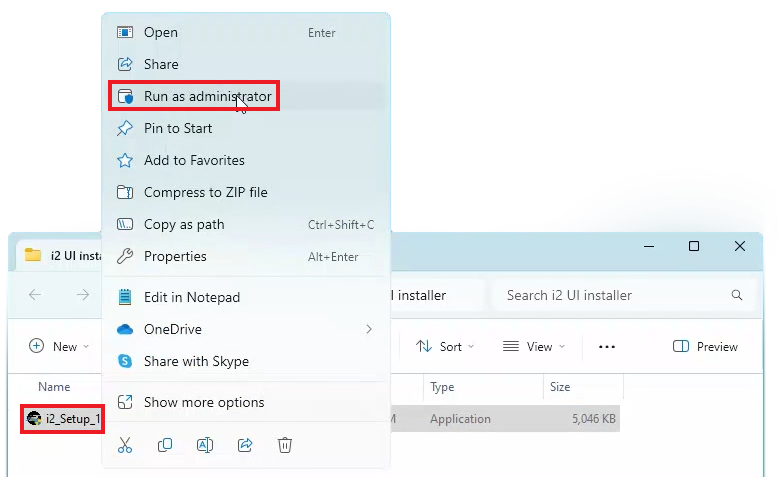
- Right-click on the setup program on your i2 UI software’s USB thumbdrive, then select Run as administrator.
- The current filename as of the creation of this article is i2_Setup_1.9.0 but you may have a different version number.
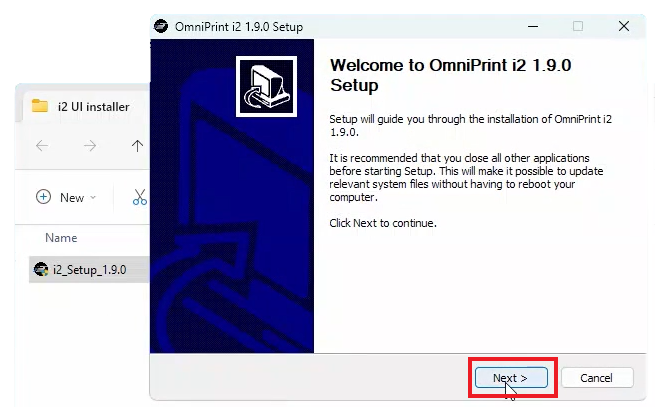
- Click the Next > button on the welcome screen.
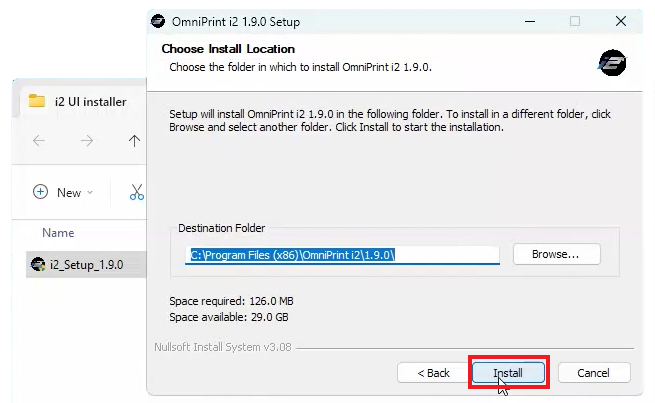
- Accept the default Destination Folder for the installation, or select your preferred folder, then click Install.
The setup program installs the i2 UI program to the PC, providing constant status details.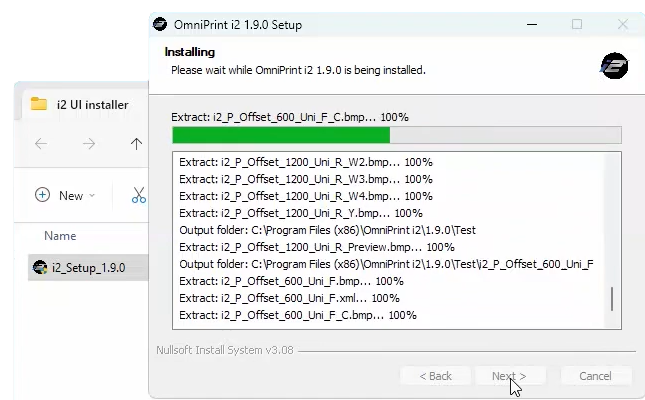
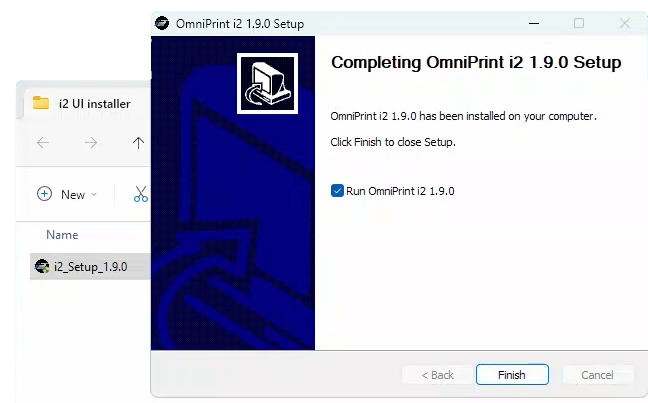
Upon completion of the installation, an icon for launching the i2 UI software appears on the Windows Desktop and the Setup program presents a Finish button to quit the installation and load the i2 UI program - Click the Finish button to run the i2 UI program.
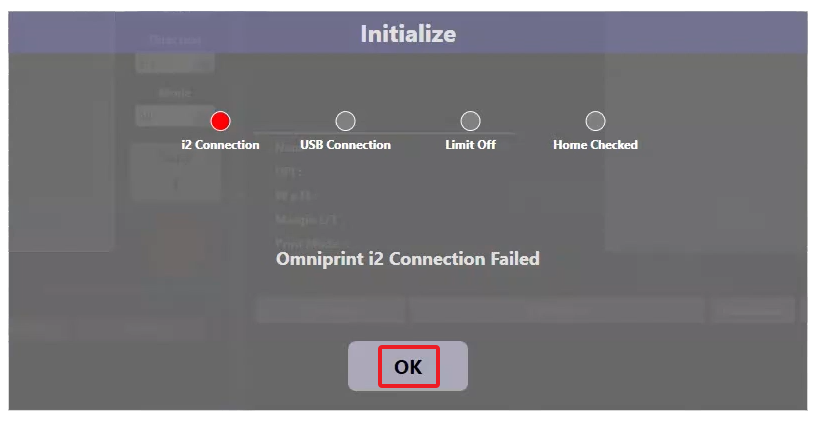
The i2 UI software loads and connection testing begins.
We haven’t yet connected the PC that we’ve installed the i2 UI software onto, so the i2 Connection test will fail. This is expected and is not a problem for the purposes of continuing with the configuration process. - Click OK on the Initialize window.
- Click on the folder icon at the top of the Job Setting section.
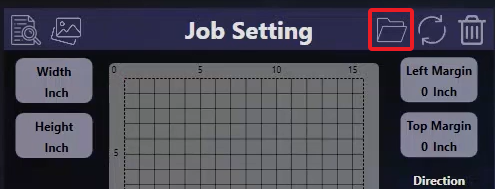
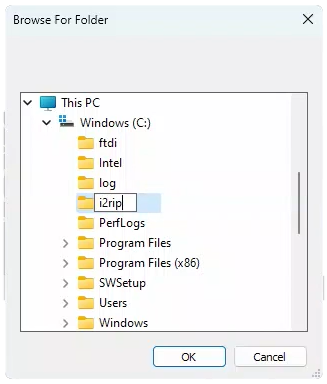
A Browse For Folder window appears. This is where we tell the i2 UI software where to find ripped files to load and print.
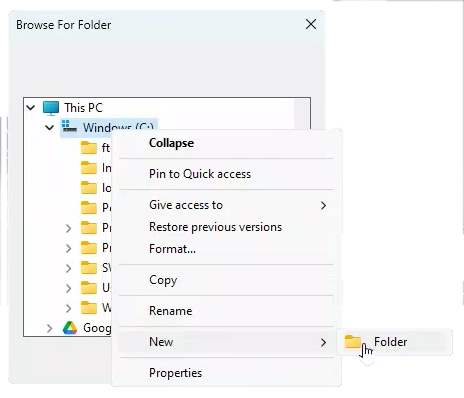
Any file system location available to Windows can be used. We recommend using your drive with the best combination of speed and capacity. For our example, we create a new folder named “i2rip” at ‘C:\’ (the root level of the PC’s primary storage location). - To use our recommended location, right-click on ‘C:’, hover over New, then click on Folder when the option appears.
A new folder with the name of ‘New folder’ appears. - Enter ‘i2rip’ or your preferred name to be used in place of ‘New folder’, then click the OK button.
- The current filename as of the creation of this article is i2_Setup_1.9.0 but you may have a different version number.
The i2 UI software installation and configuration is now complete!
Not finding what you need?
You can contact our technical support team by sending an email to support@omniprintonline.com with your company name, contact name, phone number, printer serial number, and a quick description of how we can help you.
This will automatically open a support case for you in our ticketing system and a technical support rep will follow up with you shortly.