In the below video and the following step-by-step instructions, we demonstrate how to rip an image or Layout to get the ink cost without printing. We’ll also show you how to save the ripped Layout to a file, including all sizing and configuration settings, and also how to load a previously saved rip for immediate printing.
Rip Without Printing
Once you have images and Layouts fully configured and ready to print, it’s simple to rip them without printing. Features of Print Pro’s Queue Manager can then be used to do things like determine the cost of ink needed to print the rip or to save the fully configured rip and quickly load and print it in the future.
Here’s how to rip an image or Layout in Print Pro.
- First complete your image(s) and Layout setup, including sizing and creating the white underbase choke for the images.
- Place the image(s) onto a Layout if you want to rip the full Layout.
- Select the image or Layout you want to rip by clicking on it.
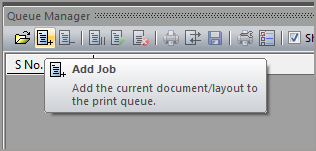
- Click on the Add Job icon in the Queue Manager toolbar — the 2nd icon from the left.
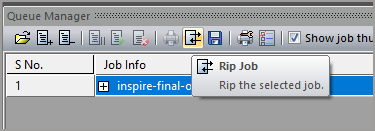
- Right-click on the new item added under the Queue Manager’s Job Info heading, then click on Rip. You may instead select the new line, then click the Rip Job icon on the Queue Manager toolbar — the 8th icon from the left.
- Queue Manager’s Status column will display “Ripping…” as it begins ripping the job. This message will change to “RipDone” when the rip is finished.
Viewing Ink Costs of a Ripped Job
- Click on the ‘+’ symbol to the left of the ripped job’s name in Queue Manager’s Job Info column.

- Scroll down the expanded view in the Job Info column to find the amount and cost of each ink color used in the design, as well as the total ink cost.
Saving a Ripped Job
Saving a ripped job is a two-step process. We first tell the software where we want the file to be saved, then we save it.
- Review the Save Location for the ripped file in the far right column of Queue Manager. If you want to save the rip to the currently designated location, skip to step 5.
- Under the Save Location heading, click on the line of the ripped job that you want to save.

- Click on the ellipses (“…”) that appear at the right end of the line that you clicked on.
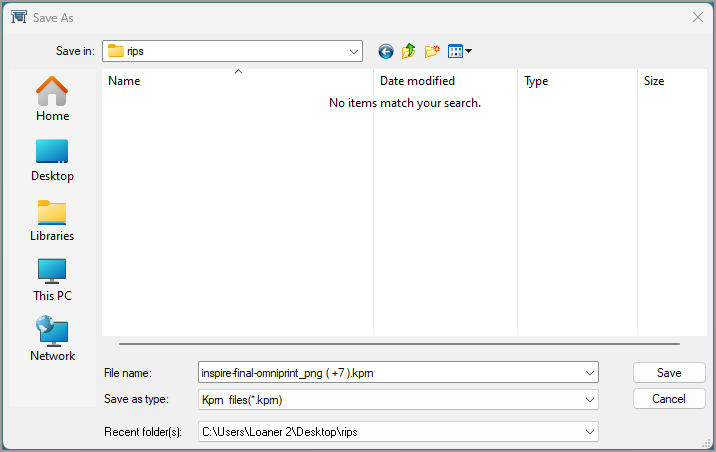
- In the “Save As” window that appears, navigate to the folder where you want the rip to be saved, and click on the Save button. This does not save the rip. It simply lets you edit the filename to be used and saves the location where the rip will be saved when you do save the rip in the next step.
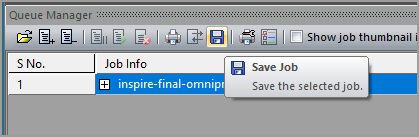
- Click on the Queue Manager’s Save Job button (a disc icon) to save the rip to your designated location.
Loading a Saved Rip
Loading a saved rip is quick and easy. Since all image and Layout parameters were included when the ripped file was saved, once the rip is loaded it can be immediately printed.
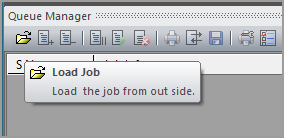
- Click on Queue Manager’s Load Job icon. The first icon from the left, with the appearance of an open folder.
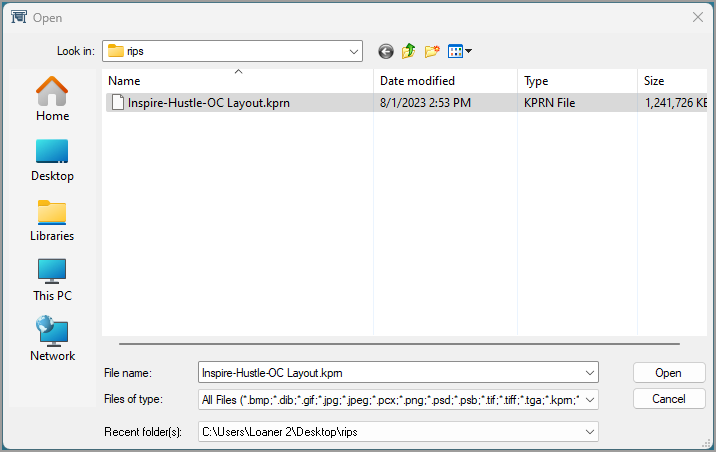
- In the File Open window that appears, navigate to the folder where the rip file you want to print was stored, then select the rip file and click Open.
- When the saved rip appears in Queue Manager’s Job Info column, right-click on it and select Print or click on the Print Job icon in Queue Manager’s toolbar.
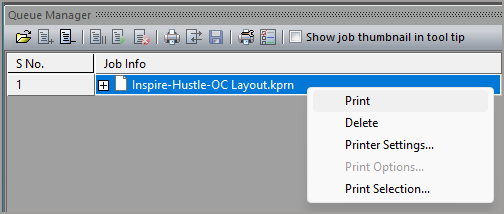
- If the print options are grayed out, ensure your printer is selected in Queue Manager’s Printer Name column.

- If the print options are grayed out, ensure your printer is selected in Queue Manager’s Printer Name column.
Not finding what you need?
You can contact our technical support team by sending an email to support@omniprintonline.com with your company name, contact name, phone number, printer serial number, and a quick description of how we can help you.
This will automatically open a support case for you in our ticketing system and a technical support rep will follow up with you shortly.