Download the Direct Heat User Manual from the below link.
Download the Direct Heat User Manual from the below link.
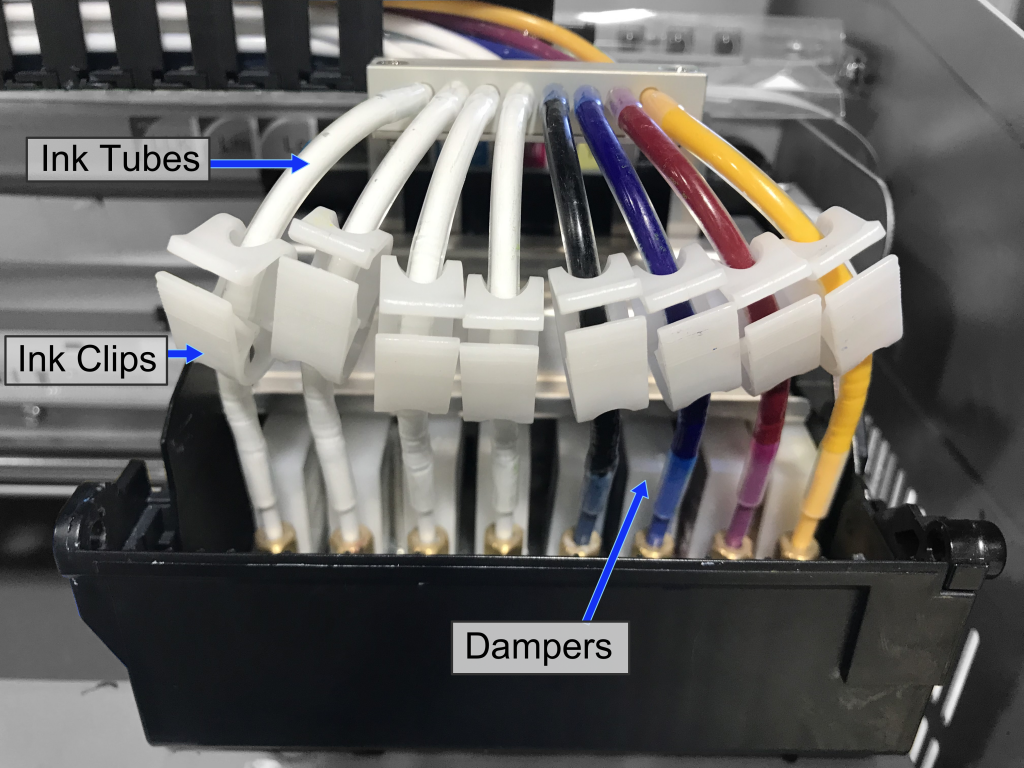
The Freejet Support Kit consists of the following items:
…all of which are consumable parts for the Freejet. Most of these parts will need to be replaced on a regular basis — some within the first year. Having a Support Kit on-hand will minimize downtime, allowing you to usually get your printer back up in minutes, rather than waiting for the parts to be ordered and delivered. As an added benefit, the Support Kit provides $700 worth of parts for only $575 — a discount of almost 20%!
This article will discuss each part in the Support Kit, and serve as a brief How-To Guide for replacing those parts. We recommend reading this entire article before doing any disassembly. You may also wish to review the following video before replacing dampers.
Tools needed: small or medium needle nose pliers, #2 Phillips head screwdriver
On the top of the print head, locate the staircase-shaped metal plate. This is the Damper Panel.
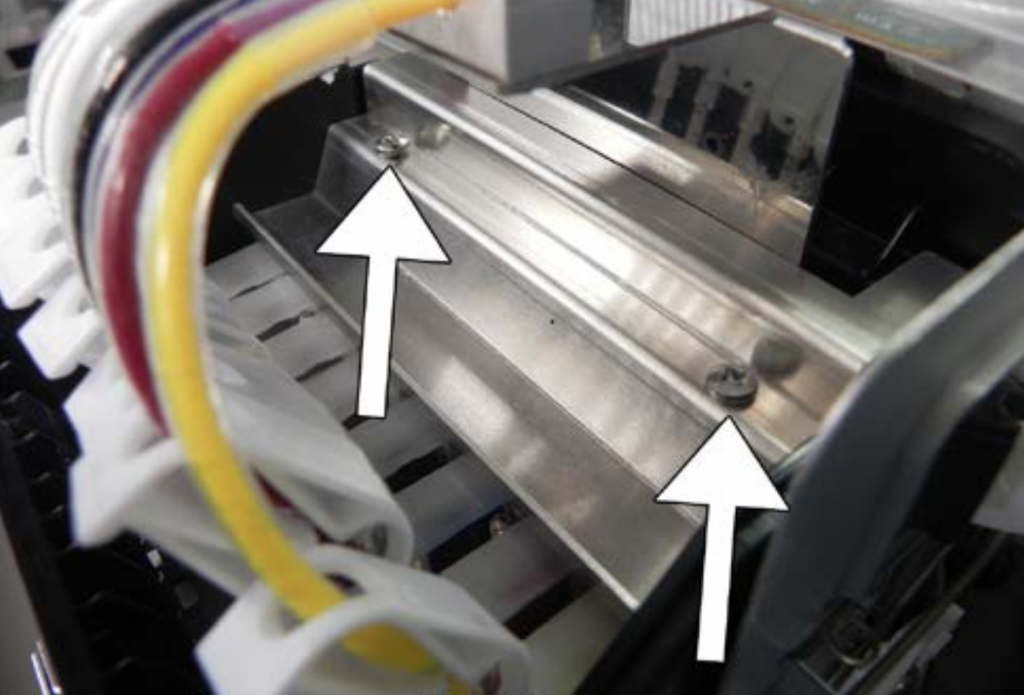
Two screws hold the damper panel in place.
Use your #2 Phillips head screwdriver to remove the two screws holding the damper panel in place. Slide the damper panel off, then set it and the screws carefully aside.
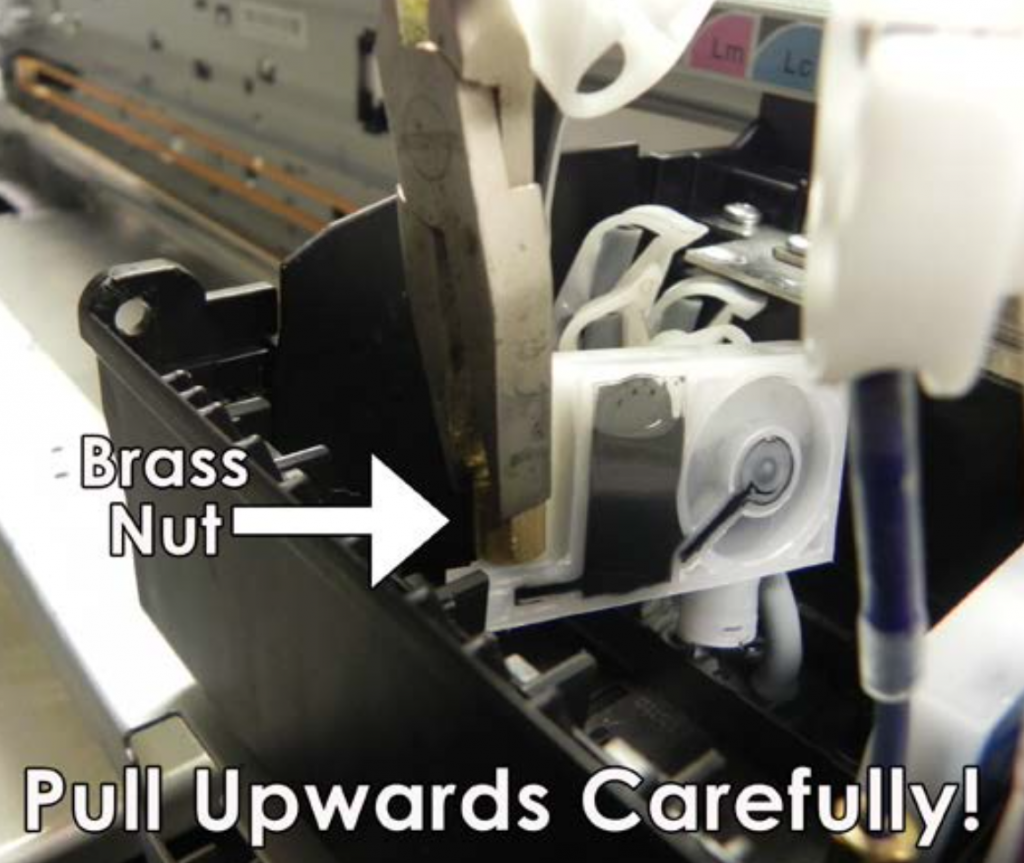
Using your needle nose pliers, grasp the brass nut at the front of each damper and gently lift straight up to pull the dampers out of their positions. It may be helpful to slightly rock the damper from front to back to release its seal on the top of the print head nozzles, but avoid rocking side to side.
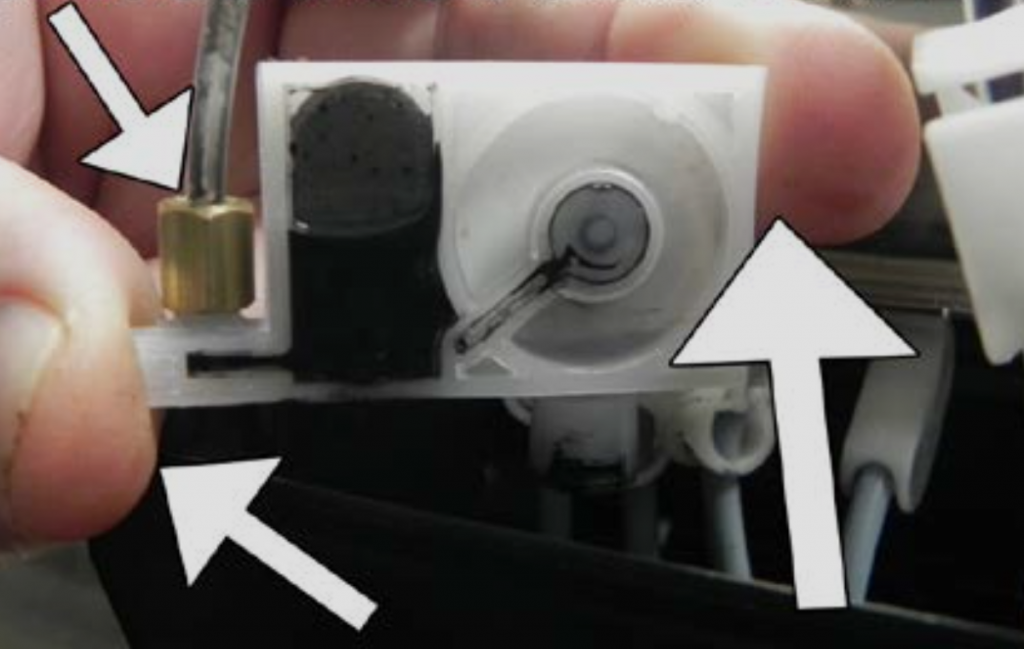
Demonstration of proper damper handling, using only the front & back of its frame or the brass nut.
Once dampers have been lifted up, allow them to hang in front of the Print Carriage, for now. Ink may drip from the dampers so it’s recommended to put a scrap shirt, shop rag, or paper towel directly under the dampers.
Unscrew the nut from each of the dampers and slide it up the ink tube a bit to expose the o-ring (to ensure that it doesn’t fall off), then pull the end of the ink tube off of the damper.
At this point we want to evaluate the condition of the printer’s ink tubes, clips, and o-ring. If any of those parts are showing signs of significant wear then this would be a great time to replace them.
Here’s what to look for:
Regardless of their condition, some customers prefer to proactively replace these parts on a regular schedule, all at once, before they impact print quality to minimize future production interruptions.
If replacing only the damper, skip to that section below.
If you are replacing the ink tube, clip, or o-ring, first slide (or roll) the o-ring off of the ink tube, then slide off the brass nut. If replacing the clip, slide that off next.
If you are replacing the ink tube itself, observe where this short ink tube connects to the main ink line as an overlapping, air-tight sleeve.
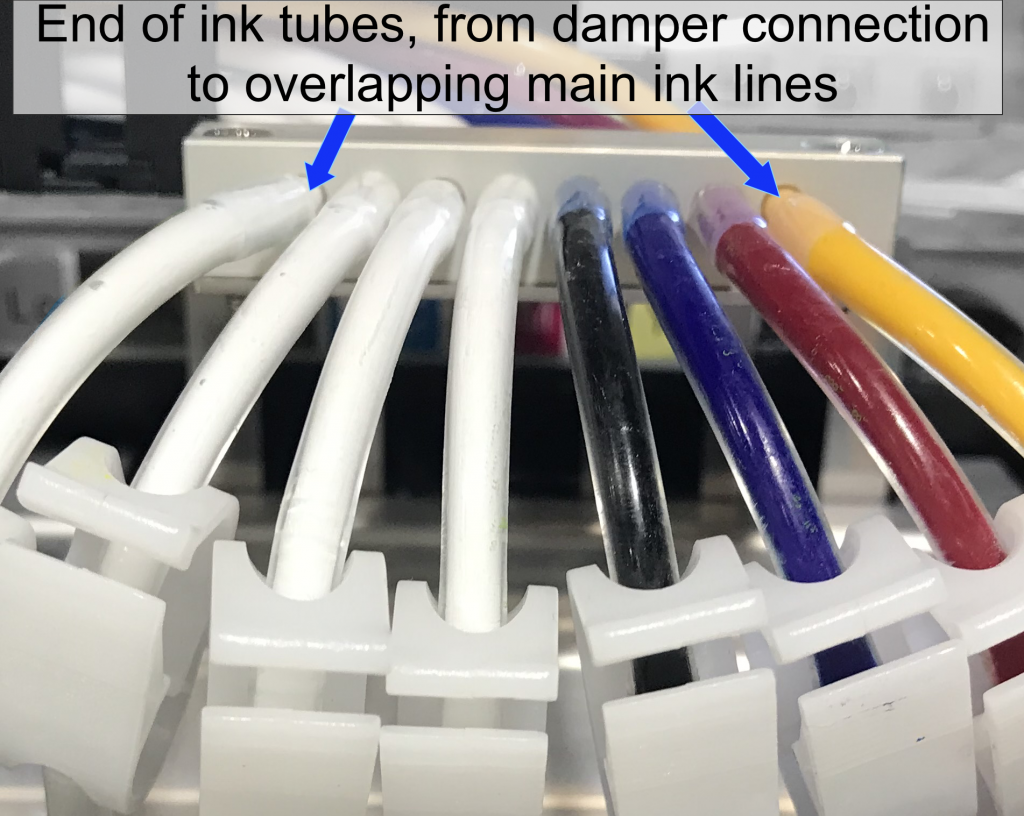
It is best to push the ink tube off of the main ink line using a thumbnail or a thin, stiff tool (with no sharp edge.) You can also try rotating the ink tube while pulling it off of the main ink line, though pulling may cause the ink tube to stretch and become tighter.
Be careful, and place a drop cloth underneath the ink lines and tubes as you do this, or you’ll risk spilling in the Print Head Carriage!
If replacing more than one ink tube, complete each ink tube (plus clip and o-ring reinstallation or replacement, as needed) before moving on to the next set. Doing them one at a time minimizes the risk posed by spills.
The order of installation for this set of parts is:
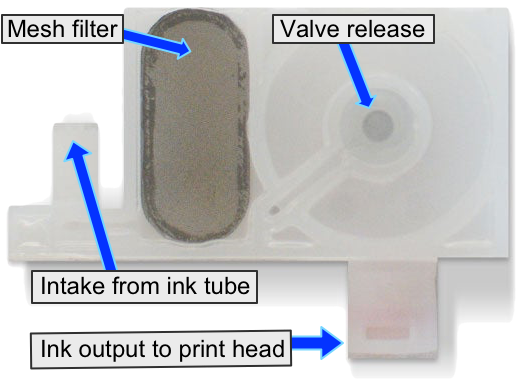
To attach your new damper, push the open end of the ink tube onto the ink intake port on the front of the damper, and screw the brass nut in place to secure it, making sure the o-ring is on the ink tube and inside the brass nut’s opening. Tighten the nut so it is snug, but be careful to make it only hand tight since the damper’s plastic threads can be easily stripped if overtightened.
After all desired parts have been swapped, gently grasp the first damper by the brass nut, and position it so the open, circular port on the bottom of the damper is pointing straight-down over its matched nozzle post on the print head.

Print head damper posts, which dampers are mounted onto.
Lower the damper straight down and into position, ensuring that the plastic “U-shaped” alignment slot at the front of the damper wraps around the metal tab of the Damper Alignment Bracket.
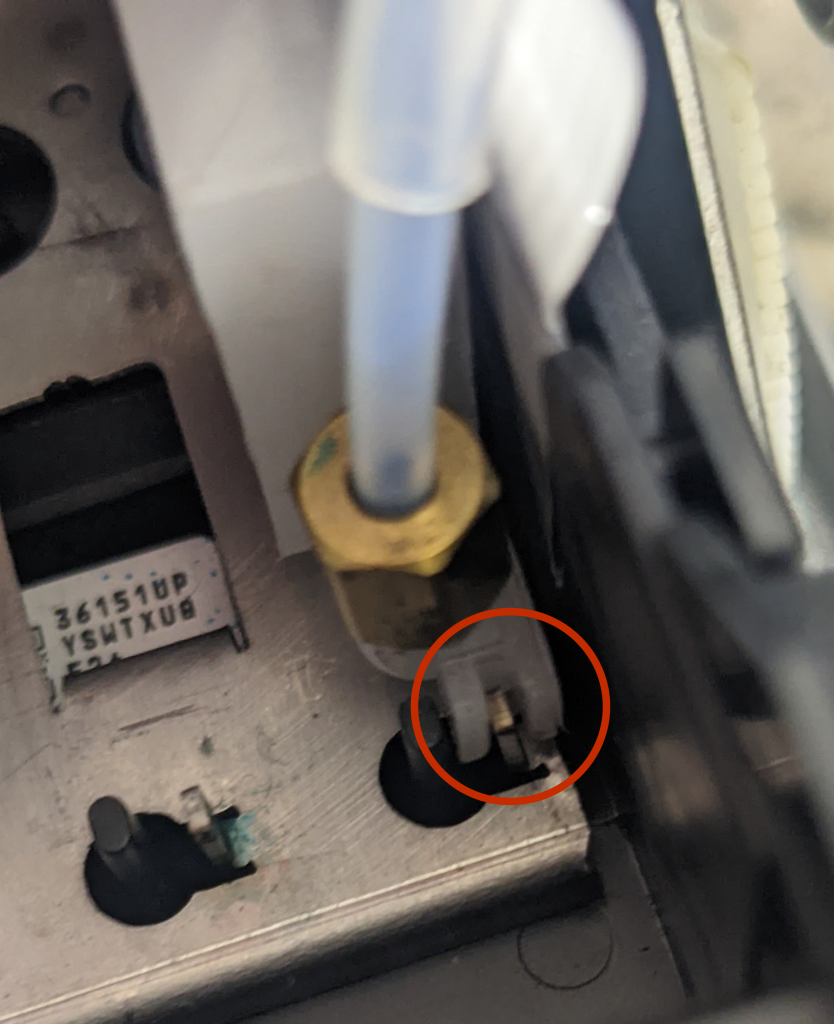
A U-shaped slot at the front of each damper is aligned with the upright tab on the alignment plate.
Press straight down to the top of the damper, near its rear (immediately above the print head’s associated damper post) to secure it into position. You will feel a slight bit of resistance as the damper mates to the print head post, followed by firm resistance once the damper is fully seated onto the post.
Repeat for any other dampers, ink tubes, o-rings, and/or clips to be replaced.
When complete, with all 8 dampers evenly spaced and at equal height, replace the damper panel and screw it back into place.
The Waste Ink Pad is located inside the Waste Ink Spit Tray, inside the carriage assembly, at the far left end — opposite the print head carriage’s home position over the pump.
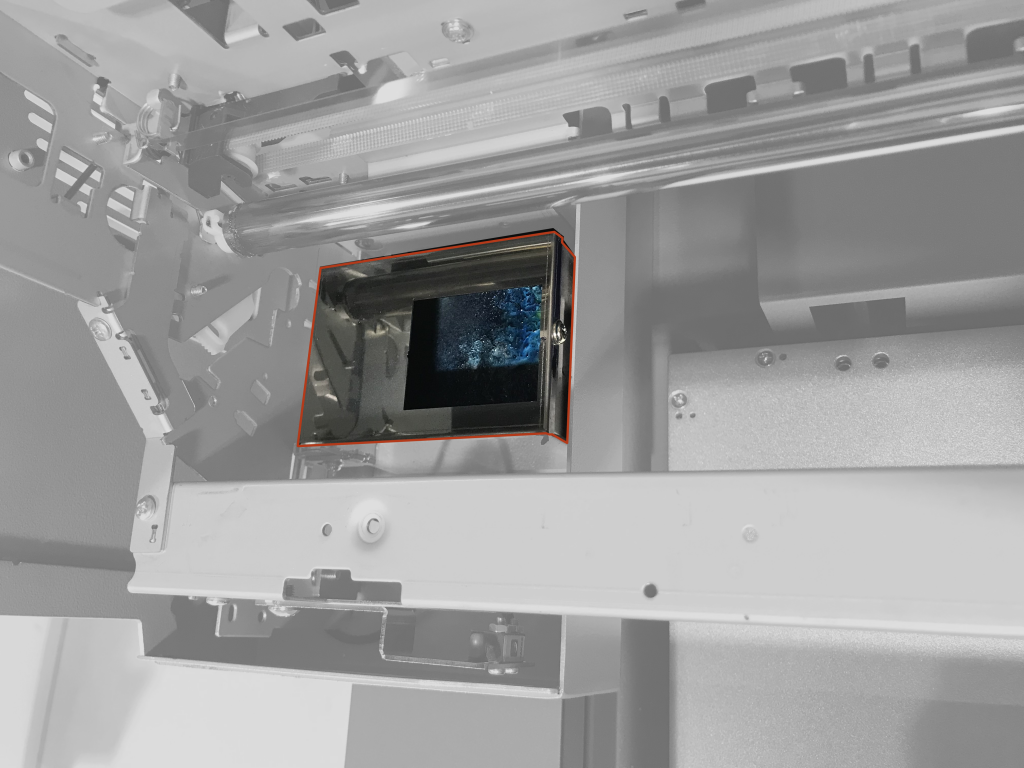
The Waste Ink Tank (or “Spit Tray”) contains the Waste Ink Pad
If your waste ink pad is completely submerged in ink, use a syringe to suction out the excess ink. Once the excess ink is removed, use a pair of needle nose pliers to pull out the soak pad and insert a new soak pad in its place.
Cleaning out the waste ink reservoir and replacing the soak pads
The Pump has a more involved replacement procedure which should only be done with the live assistance of an OmniPrint Technician, at least while the printer is under warranty. Also, replacing the pump sometimes requires access to a circuit board that can be damaged if mishandled.
Please contact our Technical Support team to request assistance if you believe the pump needs to be replaced, to avoid potentially damaging your printer and voiding its warranty.
During the pump replacement process, we also replace the Pump Soak Pad, which is placed underneath the pump.

One of the first skills that we get asked about after people fully grasp the concepts of printing on their Freejet printers is how to achieve more vibrant color on their prints – the way that the image appears on the screen might just not translate to colors that really “pop” when they get onto the T-shirts themselves.
While our typical first concern is to double-check the pretreating process (it simply cannot be overstated that the majority of print issues stem from improper pretreatment), sometimes even on an impeccably pretreated, 100% ringspun, combed cotton, black T-shirt, we just can’t get the image to print the colors that are meant to have high-impact on the eye. It happens, right?
Luckily, there is a convenient, if slightly more expensive, solution to this problem. The Freejet is capable of doubling the resolution of the white underbase layer, laying down nearly twice the amount of ink on the base, ensuring that the top, color layer comes out looking super-vibrant! Best of all, it’s a trick that only takes a few extra steps!
If you’d like to try it, pretreat a dark or black t-shirt, mount it onto a platen, and follow along with the below steps.
First, set up your image as usual. Environment, Sizing, Placement, Margins, White Underbase Choke… all of it, exactly as you would for any other print job. Once you’ve gotten all the way ready to print, make the following changes:
Check out the results! With the right artwork, Double White Underbases can create a dramatic effect, to impress your clients at only a slight increase in cost!
Your FreeJet printer package includes one Standard Adult platen, providing printing surface dimensions of 12.5” x 18”. The Standard Adult platen meets the needs of the vast majority of t-shirt print jobs. However, as your clientele and business expand, you may want to extend your offerings for different sizes and types of garments.
Let’s take a look at the types of platens available from OmniPrint to help you address other types of printing.
NOTE: All of OmniPrint’s platens are available for purchase through your OmniPrint sales rep and directly from our online store.
The Threadable Adult platen is the same size as the Standard Adult platen and is very helpful when printing on both sides of a garment, by isolating the front of a garment from the back – for example, to create a full back print on a t-shirt with a pocket on the front, or on a polo shirt with buttons on the front.
OmniPrint Threadable Adult Platen
If a threadable platen is not used in such cases, we’re creating the risk of getting a head strike due to the raised areas. Even if we do set the height appropriately for the highest spot on the garment (where it is lifted a bit by the pocket, seams, or buttons on the front), then our print will not be quite as sharp as it could be, due to the print head being a bit further away from the main body of the garment.
Threadable platens are the solution to this type of otherwise risky situation. OmniPrint offers threadable platens in both the Adult and Youth sizes.
When expanding product offerings to include options for much smaller and larger sizes, or to create custom prints on select areas, we want to take advantage of some other types of platens. Using the proper platen size helps greatly to ensure that we’re always creating a perfectly flat print surface by avoiding the presence of seams, stitching, etc., which creates the risk of head strikes or head rubs if printing smaller garments on a platen designed for adult shirts.
Here’s a brief summary of these alternative platens and their dimensions.
| Platen | Dimensions | Image |
| Chest | 6″ x 6.5″ | 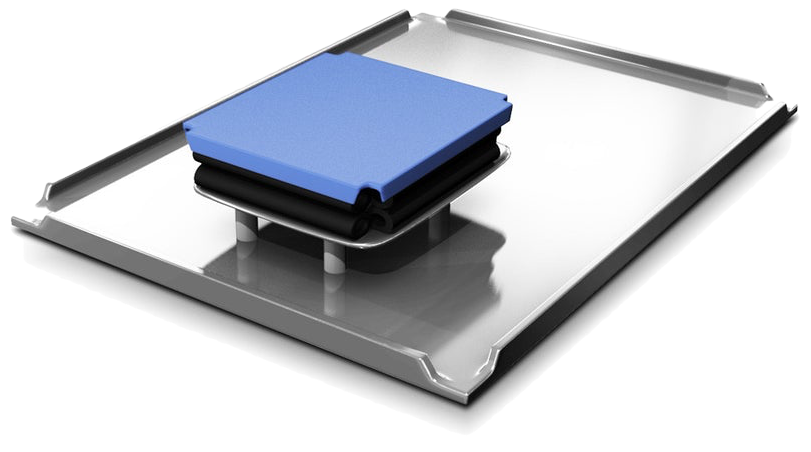 |
| Toddler | 7.5″ x 10″ | 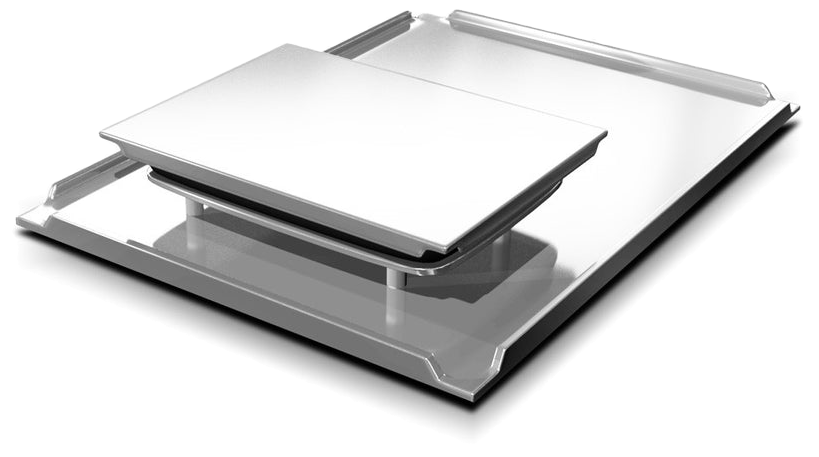 |
| Youth | 10.5″ x 13″ | 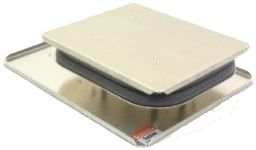 |
| XL Adult | 12.625″ x 22.6″ | 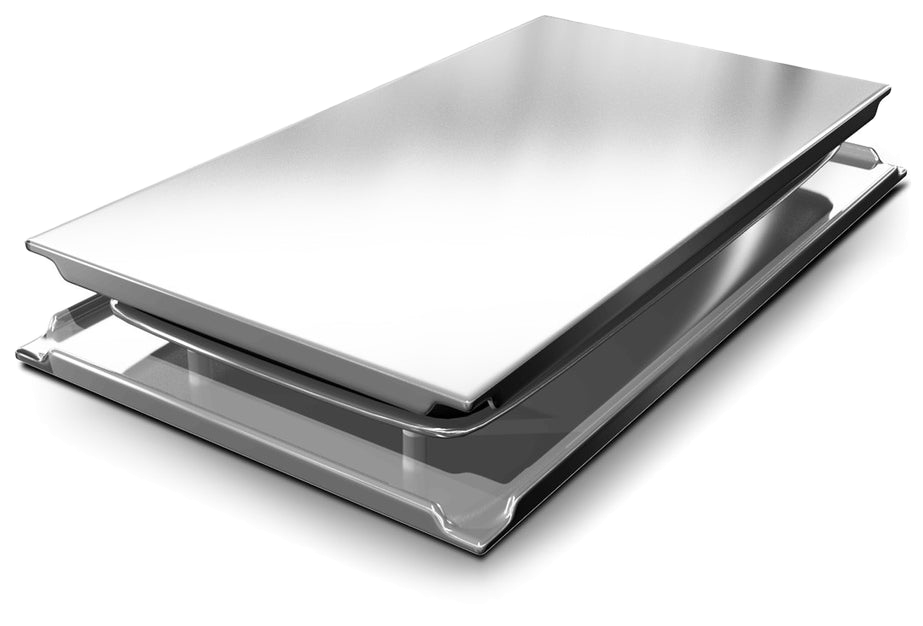 |
| Sleeve | 4.25″ x 16.5″ |  |
All platens are always positioned with the end of the platen where the top is flush with the base towards the front of the printer, or to the left when facing the FreeJet control pad. As always, make sure the platen’s base is pressed against the two alignment rails.
The process for setting up a print in DirectRip using one of the above-listed platens is the same as for a Standard Adult platen with one caveat — the print alignment must always be set to Top Center in the Q-Rip window.
Remember that the dimensions of your graphic plus any top margin you may add must fit within the dimensions of the platen. For example, when using the Chest platen the maximum size of the image (after sizing in DirectRip’s Q-Rip window) must be no larger than 6″ wide and 6-1/2″ high.
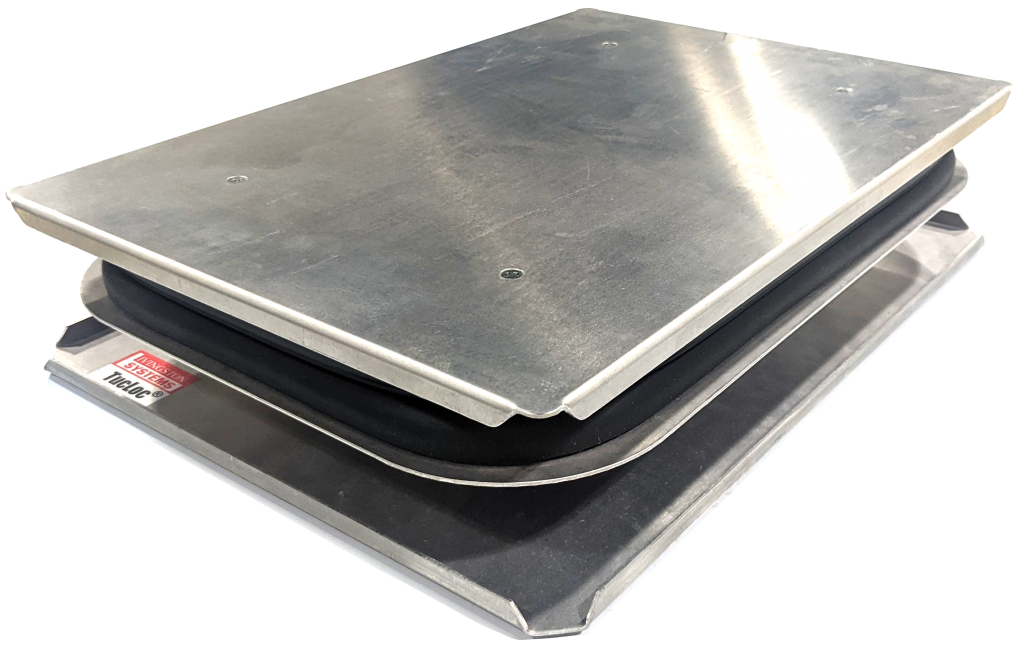
When doing a significant volume of smaller garment printing, we want to consider using a Dual Platen, so that we can print two items at the same time. As the name suggests, Dual Platens have two top pieces mounted onto a single base. Of course, this means there can be dual platens only for the sizes of platen tops which are no larger than half the size of the base.
OmniPrint offers dual platens in the Sleeve, Toddler, Youth, and Chest sizes.
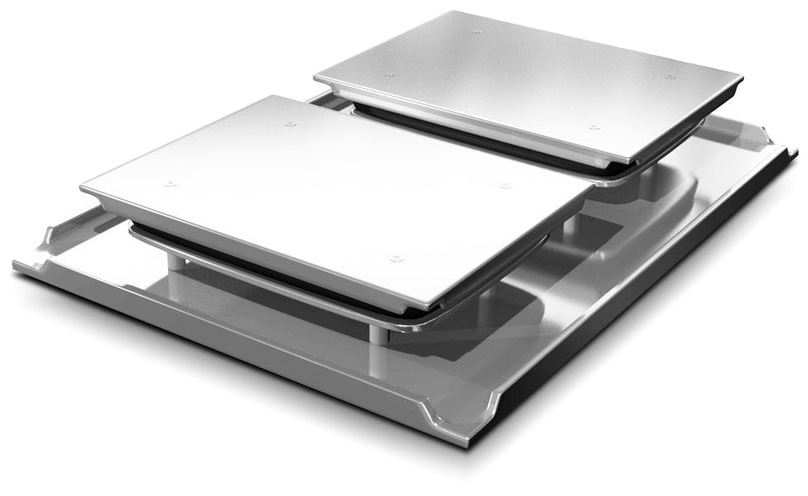
OmniPrint Dual Toddler Platen
We need to use OmniPrint-provided .psd templates (Photoshop files) to duplicate and position (using guide layers) our existing artwork so the images will be perfectly aligned to print in the exact positions of the dual platen tops.
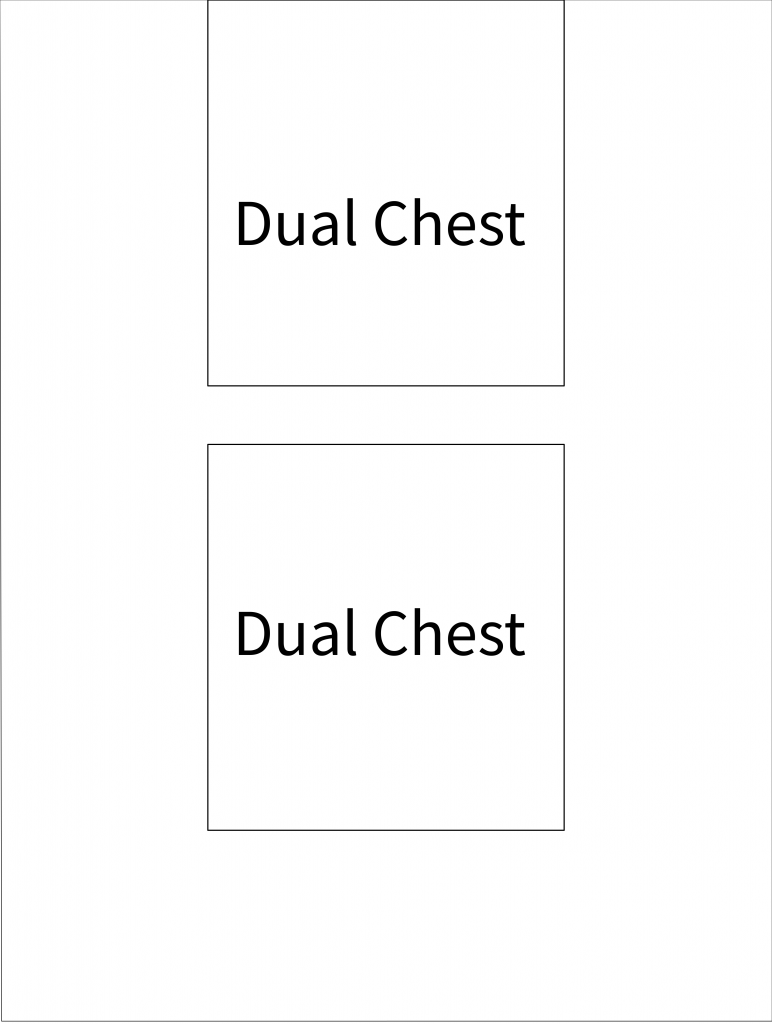
Example of a dual platen template.
In an actual Photoshop template, the above example is a layer that is turned off (so it won’t be printed) after the design images are positioned and before the file is exported for loading into the RIP software.
The Dual Platen template files, in Photoshop format, are available for download at the bottom of this article. The zip file contains templates for the dual sleeve, toddler, youth, and chest platens.
Printing on zip-up hoodies presents a challenge due to the full-length front zipper and associated seams. The Zipper Hoodie platen takes a unique approach by providing a lowered channel in the center where the zipper of a hoodie can be positioned. This allows us to get a better quality print while reducing the risk of having a head strike on the zipper. It’s still very important to manually set the height very diligently to avoid head strikes and head rubs.
The Zipper Hoodie platen is oriented at a 90-degree angle compared to our other platens, so the hoodie is positioned as what we might consider sideways on the printer. To work with this arrangement, we need to make sure our artwork is also rotated 90-degrees.
OmniPrint’s Hoodie platen
We offer a variety of platens to make sure you have the right tools available to print on a wide variety of garments. You can save yourself a lot of time and trouble by making sure you’re using the right tool for the job.
Beyond this support for various garment sizes, OmniPrint also offers platens for printing on hats, shoes, and facemasks.