The daily startup routine for the OmniDTF system is very straightforward and can be made even simpler by following a few tips that we’ll include in this brief overview of the process.
Preliminary Steps
Before starting up the printer, first start up the OmniDTF UI program on your PC, in order to automatically load configuration data when the printer is turned on.
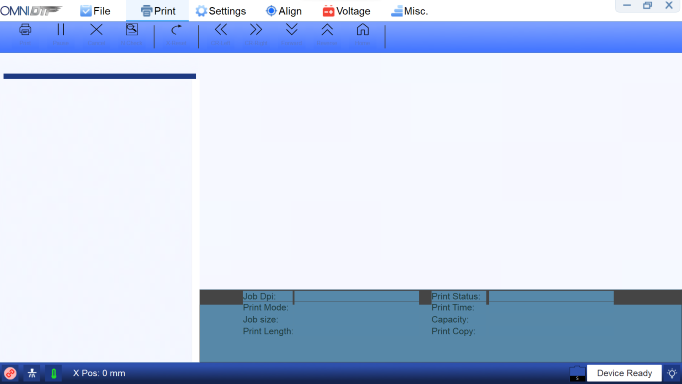
Note that the connection icon in the lower-left corner of the window will flash red until the printer is turned on.
Also, empty the waste ink bottle at the right-rear corner of the printer (left if viewing from the back) if it contains any ink before turning on the printer.
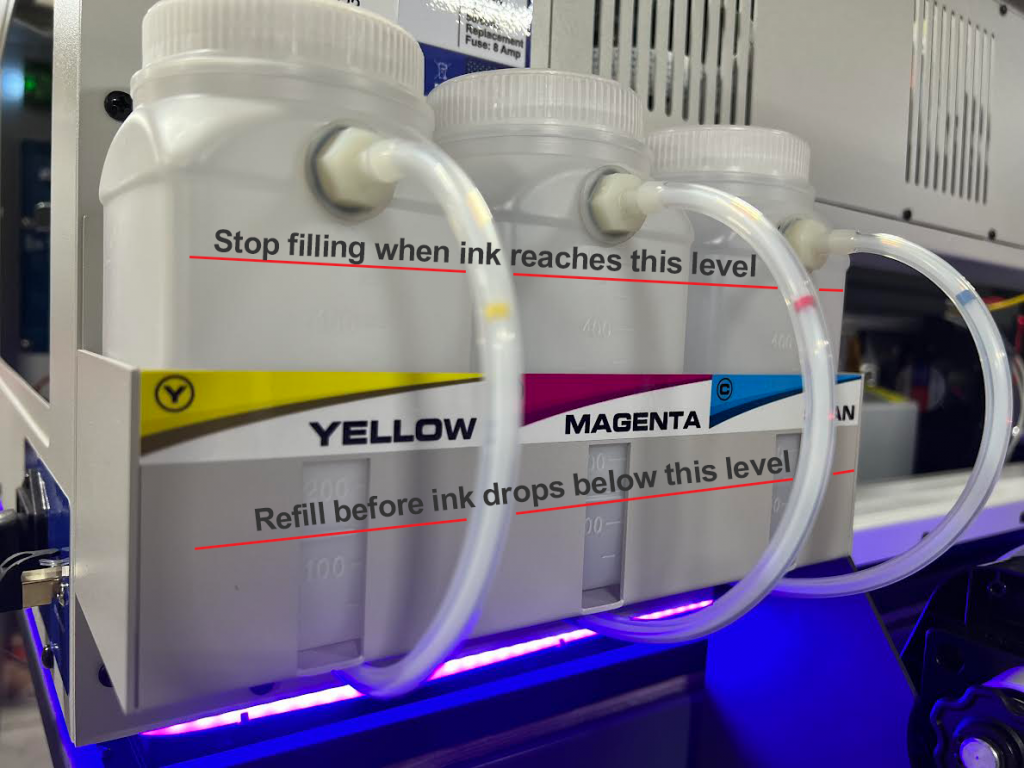
Always check your ink levels before printing and fill the bottles to the level shown above. Be careful not to overfill the bottles because if the ink level reaches the bottle’s fitting where the ink tube enters the bottle as this can cause leakage.
When finished, use a clean cloth to wipe away any ink that appears to be blocking the breathing holes in the center of the bottle caps.
The final step before turning on the printer is to confirm that the white ink lines are clipped shut. This should already be shut since that is an important step of the shutdown procedure, but it’s advisable to double-check now.
Starting up the OmniDTF printer
Start-up video demonstration
Step-by-step instructions
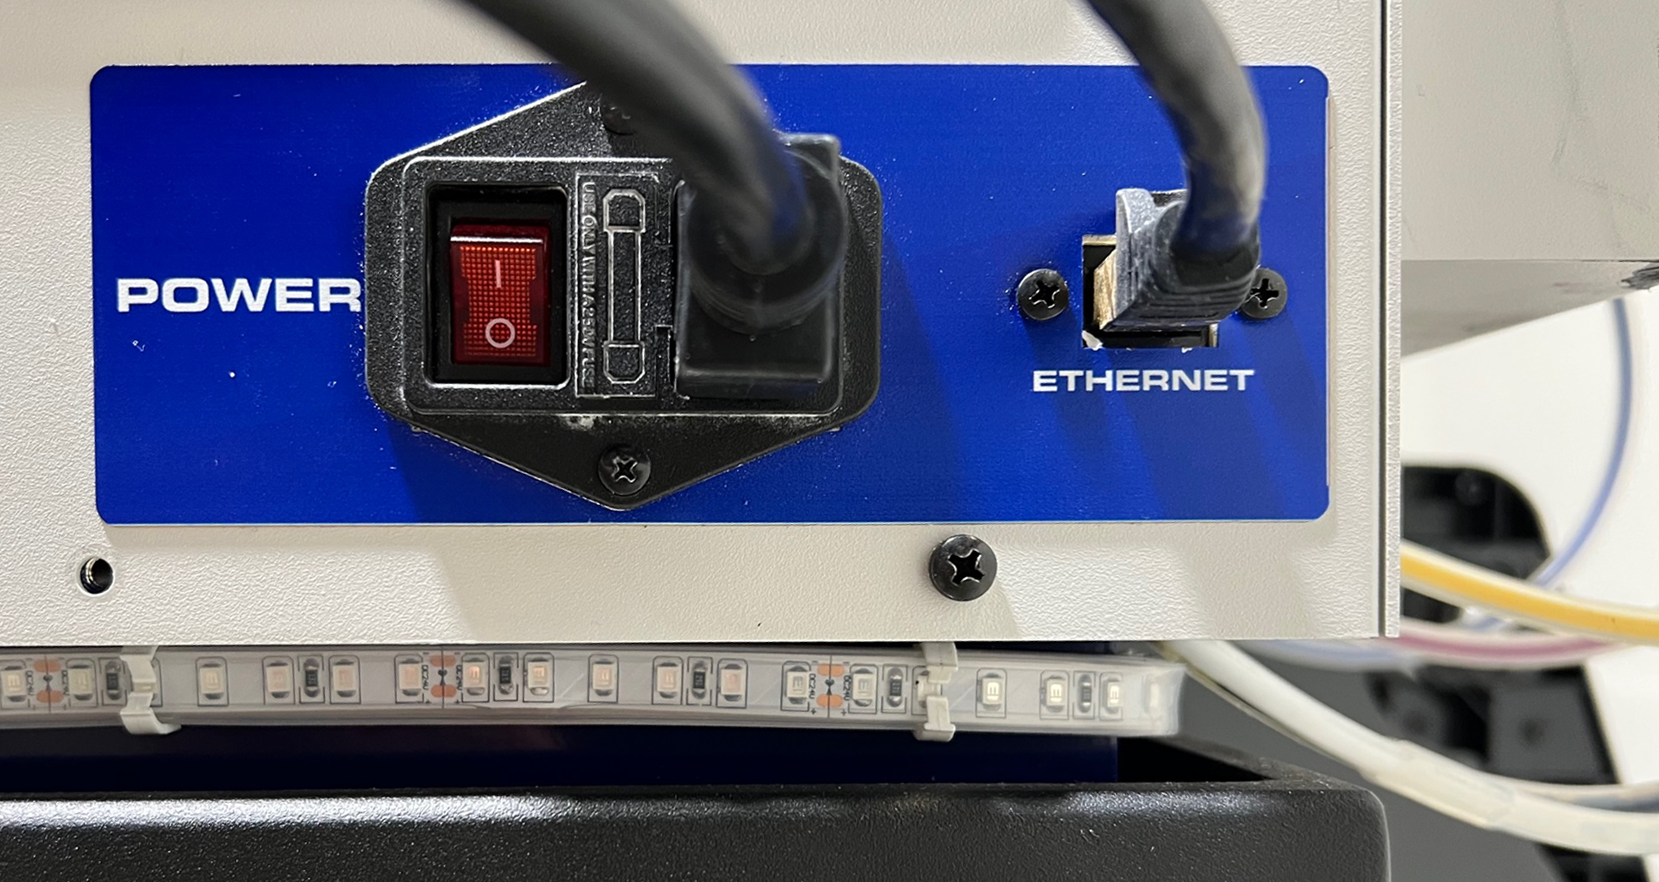
- Turn on the printer using the power switch on the right side, near the back.
- Circulate the white ink by turning on the White Ink Circulation switch on the front of the printer if it isn’t already on. You will hear it running for 3 minutes when switched on, and will then automatically turn off.
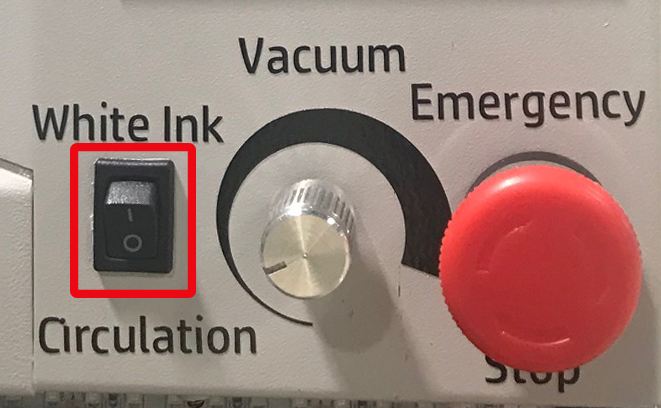
- Confirm that the rotary Vacuum switch, shown above, is on (not fully counter-clockwise.) It’s recommended to keep this at its minimum strength, which provides plenty of vacuum power to keep the film against the platen without cooling the platen heaters.
- After the white ink circulation pump has stopped running, open all eight of the ink clips
- Press the Printhead Cleaning button on the printer’s control pad to run a head clean.
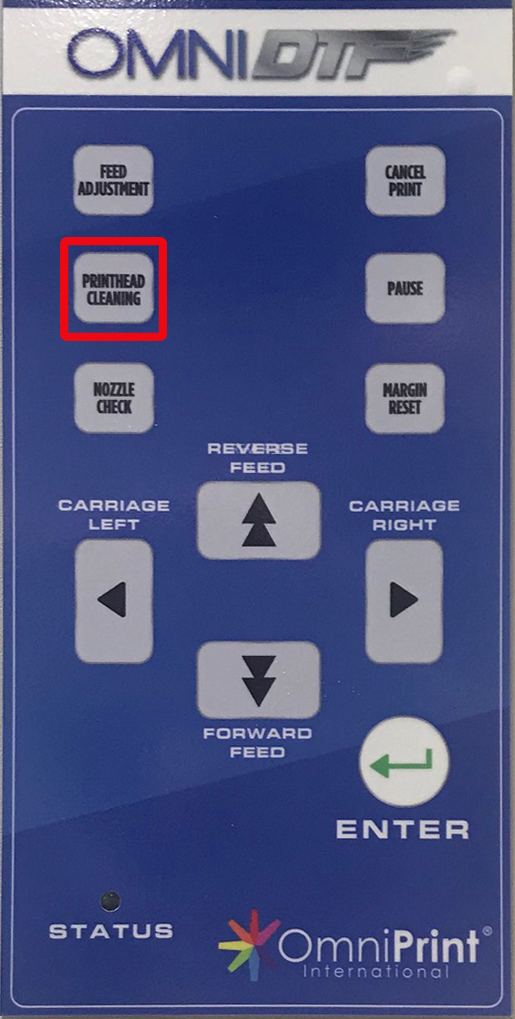
- Once the control pad display indicates that the head clean is finished, press the Printhead Cleaning button once more to run a second head clean.
- Press the Nozzle Check button on the printer’s control pad to print a nozzle check test pattern.
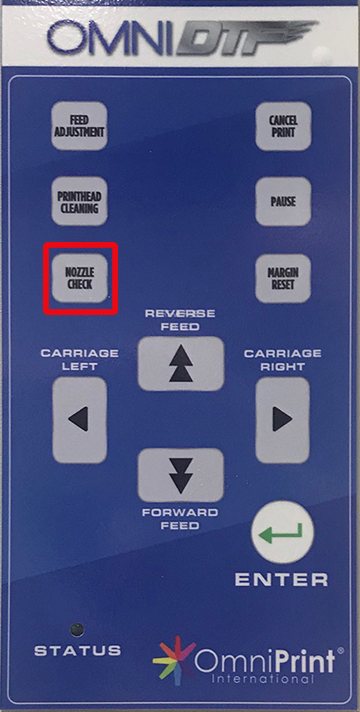
- If the nozzle check isn’t at least 90% complete on all 8 channels, additional Printhead Cleaning should be done to achieve that standard.
- Be careful to keep an eye on the fluid level in the waste ink bottle if running multiple head cleans, and be sure to empty it before it gets beyond 2/3 full.
- Confirm that there is an appropriate amount of DTF Powder at the bottom of the U-shaped loop of film in the dusting chamber and add more as needed.
- Turn on the curing oven assembly’s main Power switch, along with the Curing switch to begin heating the oven.
The printer is now ready and you can proceed with production work!
Production Notes
Monitor the status of the following items periodically when printing to ensure trouble-free operation and optimal print quality:
- Film Alignment: Confirm that the film runs straight through the printer, across the bridge, and through the oven assembly. Center it with the yellow stickers’ alignment lines and at the opening to the Dust-Curing Machine where the bridge rests. Pause printing and adjust as needed to correct any skewing.
- Powder dusting: Activate as needed to maintain sufficient powder on the film.
- Powder shaking: Adjust as needed to effectively remove excess powder.
- Waste ink bottle: Monitor the level before running a head clean and empty the bottle before it exceeds 2/3 full.
- Ink bottles: Refill before the level drops to 1/2 full to maintain optimal ink flow and prevent air from entering the ink lines.
- Powder: If the powder dispenser supply is depleted, briefly pause printing and refill the supply.