Frequently Asked Questions
-
Why is my printer missing in DirectRip?
Windows 11 updates have caused some Freejet customers’ DirectRip installations to lose access to the R2400 device driver.
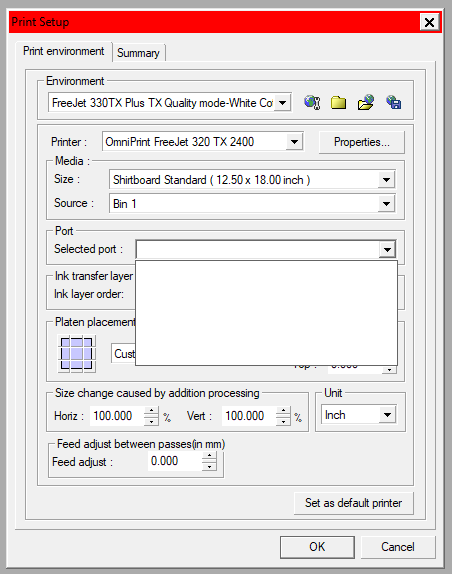
See the Printer Missing in DirectRip after Windows 11 Update article for a set of preliminary checks and to download a utility that will resolve the Windows Update issue.
-
How do I stop my Error & Ink lights from flashing back and forth?
When these two lights are flashing back and forth, with one on while the other is off, we need to reset the waste ink pad counter before we can continue printing.
-
How do I make my image have more pop?
Color vibrancy is mainly determined by two factors: pretreatment and color strength.
If a garment is not properly pretreated then too much ink may be absorbed into the fabric. When working with unfamiliar garments, it’s often necessary to experiment to find the proper pretreatment amounts.
Increasing color strength by a few percentage points can also add more vibrancy to colors.
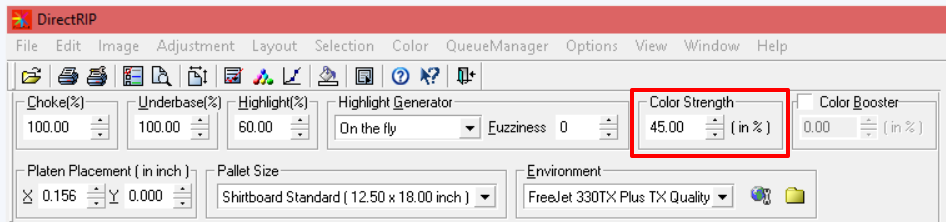
However, adding too much ink by boosting the color strength may cause the ink to bleed so it’s best to optimize pretreatment before boosting color strength.
-
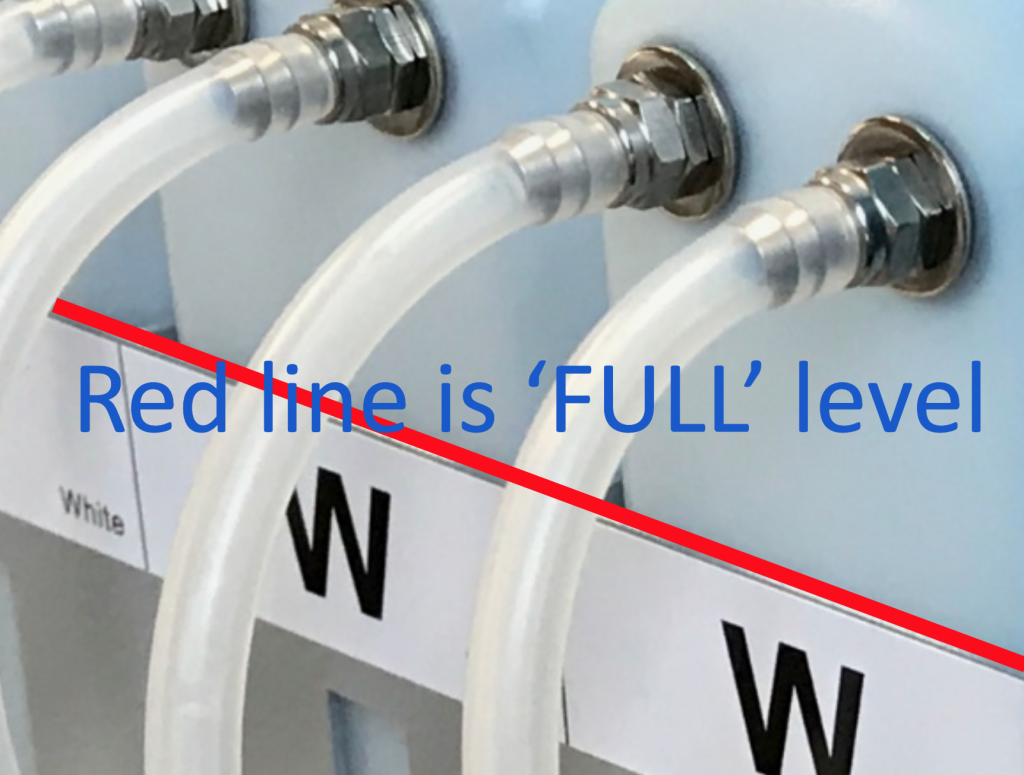
When should I refill my Freejet printer’s ink bottles?
Since we know that the Freejet printer’s ‘Ink’ light does not indicate that we need to refill the printer’s ink bottles, how do we know when they should be filled?
The chromed bracket holding the ink bottles on the rear of the printer has a vertical slot cut out at each bottle position, so we can visually monitor the ink level for each color channel. We want to make sure that the ink level in each bottle is at least halfway up the distance of that slot (represented by the red lines in the below image), and recommend checking the levels at the beginning of each printing day and refilling at this time, as needed.
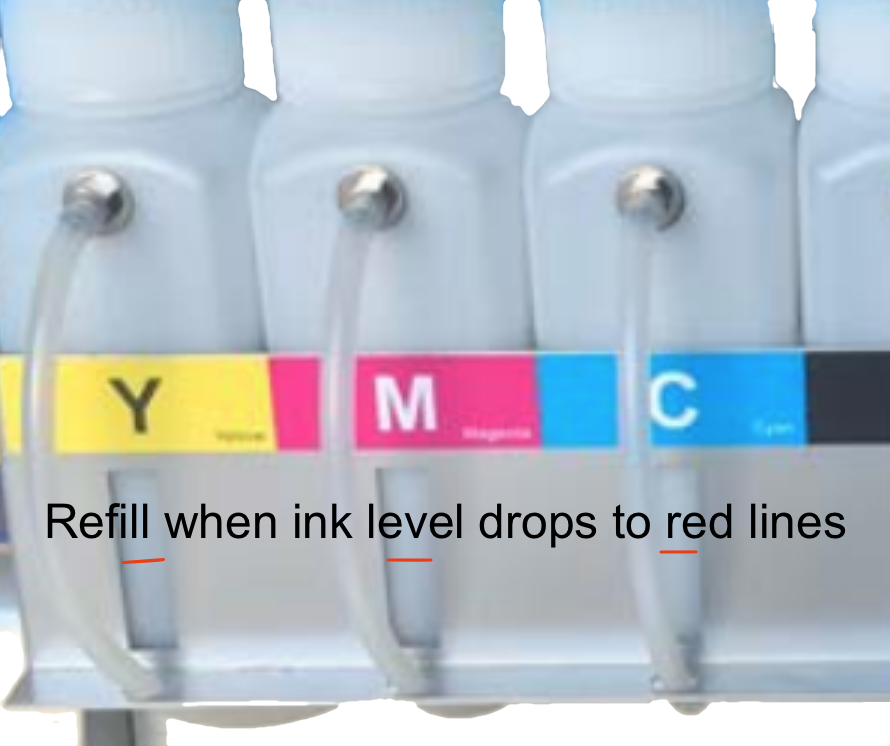
Be careful not to overfill the ink bottles, as doing so can cause leakage of ink into the body of the printer, through the outer sheath that carries the ink tube into the printer’s chassis. Only fill each bottle until the ink level reaches the top of the bracket — no higher than that.
Freejet Basics 11 articles
- How to Change the FreeJet Layer Setting
- How to Mount a Shirt on the Freejet Adult Platen (video)
- Freejet: How to Print a Nozzle Check
- How to Perform a Freejet Head Cleaning (video)
- Priming a Freejet for White Ink Separation (video)
- Routine Startup of the Freejet 330-series (video)
- Unboxing the Freejet 330TX & 330TX PLUS
- Initial Startup of a New Freejet 330TX Plus
- Freejet 330-Series Quick Reference Guides
- FreeJet 330-Series User Manuals
- Control Panel Quick Reference
DTF System Basics 13 articles
- OmniDTF Unboxing & Setup
- Omni DTF Mini & 14.5″ Oven Package Contents
- Omni DTF Mini with 14.5″ Oven Unboxing & Set Up
- Unboxing the OmniDTF18
- Setting Up the OmniDTF18
- OmniDTF Package Contents
- Omni DTF Mini Daily Startup
- OmniDTF Accessories & Supplies
- OmniDTF User Manuals
- OmniDTF: Hardware Controls Brief
- Transferring a DTF Print
- Print Pro DTF: Setting Up a Print
- OmniDTF Daily Startup & Production Notes (video)
i2 11 articles
- How to Install the i2 UI Software
- i2 Image Setup & Printing Workflow
- How to Install & Configure Print Pro for the i2
- How to Install the FTDI Driver
- i2 Platen-Printhead Distance “Leveling”
- i2 Printhead Alignment
- OmniPrint i2 User Manual
- Ethernet Configuration for i2
- i2 Periodic Maintenance
- OmniPrint i2 Daily Shutdown
- OmniPrint i2 Daily Startup
Freejet Maintenance 9 articles
- Replacing Freejet Dampers (video)
- Testing Freejet Ink Flow through Dampers (video)
- Cleaning the Freejet Encoder Wheel
- Monthly Maintenance: Freejet 330-series (video)
- Weekly Maintenance: Freejet 330-series (video)
- Daily Maintenance & Wet Cap: FJ330-series (video)
- Maintenance Log Sheets
- How To Reset the Waste Ink Pad Counter
- Installing Freejet Support Kit Parts (video)
OmniDTF & DTF Mini Maintenance 9 articles
- Omni DTF Mini Periodic Maintenance
- Omni DTF Mini Daily Shutdown
- OmniDTF Consumables & the Support Kit
- OmniDTF Monthly Maintenance
- OmniDTF Weekly Maintenance
- How to Shut Down & Wet Cap the OmniDTF with No Power and No PC
- OmniDTF & DTF Mini Printhead Alignment
- OmniDTF System Shutdown
- Maintenance Log Sheets
Solutions 10 articles
- Ink dripping from the OmniDTF printhead
- Banding Solutions for the OmniDTF
- OmniDTF Film Skewing Solutions
- How to Shut Down & Wet Cap the OmniDTF with No Power and No PC
- Printer Missing in DirectRip after Windows 11 Update
- Direct Treater Air Troubleshooting Guide
- DirectRIP “Can not open file” Error
- Freejet Grinding Noise Solutions
- How To Reset the Waste Ink Pad Counter
- Head Strike Avoidance & Recovery
Freejet Software 14 articles
- How To Customize DirectRIP Environments
- Installing the Windows Printer Driver for FreeJet 330-Series
- How to Manually Change DirectRIP’s Resolution Setting (video)
- How to Use DirectRIP’s Dot Size Feature (video)
- How to Use DirectRIP’s Color Strength Feature (video)
- How to Use DirectRIP’s Fuzziness Feature (video)
- Printer Missing in DirectRip after Windows 11 Update
- Installing & Configuring DirectRIP for the Freejet 330-Series
- Freejet 330-series: Setting Up a Print in DirectRIP
- FreeJet DTF Environments Installation
- Setting Up a Freejet Print Job: The Basics
- How to Save DirectRIP Print Job Settings
- DirectRIP User Manual
- How To Install the Adjustment Program
OmniDTF & DTF Mini Software 8 articles
- Customizing Print Pro DTF Environments
- OmniDTF & DTF Mini Software Setup
- Print Pro Queue Manager Deep Dive (video)
- Print Pro DTF & DTF Mini Environment Options
- Ethernet Configuration for OmniDTF & DTF Mini
- OmniDTF & DTF Mini Printhead Alignment
- Print Pro DTF: Setting Up a Print
- How to Update Print Pro DTF Environments
DTG/DTF 101 12 articles
- The White Underbase & Underbase Choke
- Using Hover mode on a Hotronix Hover Press
- Which Inks Can I Use in My Printer?
- How Big Can I Make My Prints?
- Using Silicone Sheets & Kraft Paper
- About Dampers
- Transferring a DTF Print
- How DTG Printing Works
- DTG vs. Screen Printing
- Choosing the Right Garment
- Climate Control Requirements
- What is DTG?
Level Up 14 articles
- About the FreeJet Ink Indicator Light
- Pretreatment Deep Dive (video)
- Print Pro Queue Manager Deep Dive (video)
- How to Update Print Pro DTF Environments
- Shoe Platen User Manual
- DTF on FreeJet Instructions
- FreeJet DTF Environments Installation
- The Freejet Ink Delivery System Explained
- How to Save DirectRIP Print Job Settings
- Hat Platen User Manual
- Direct Heat Vacuum Platen User Manual
- Installing Freejet Support Kit Parts (video)
- Doubling Up the White Underbase
- Alternative Platens