Resetting the Waste Ink Pad Counter
See how to reset the waste ink pad counter in the below video or the following step-by-step instructions.
- Use Windows File Explorer to navigate to where you installed the Adjustment Program, then double-click on the AdjProg program’s icon to launch the Adjustment Program.
If you don’t already have the Adjustment Program on the PC connected to your Freejet printer, you can get it and find installation instructions here.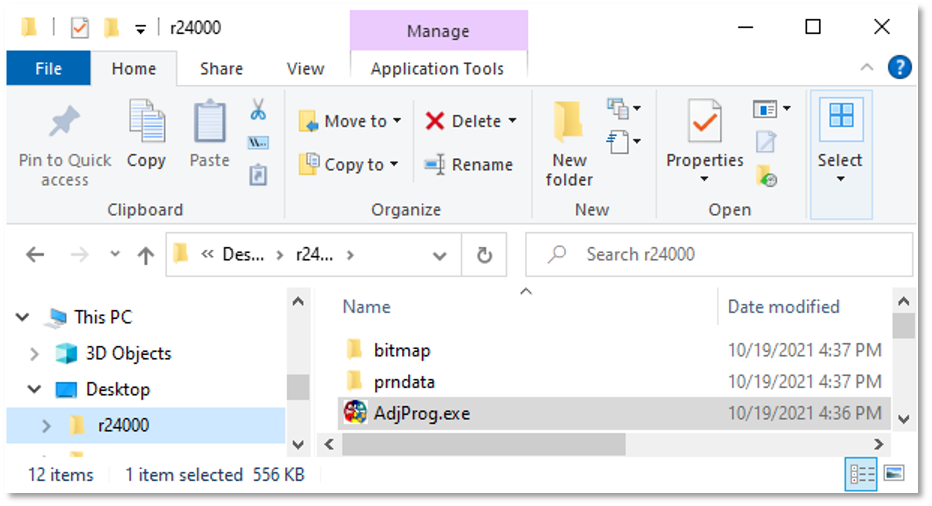
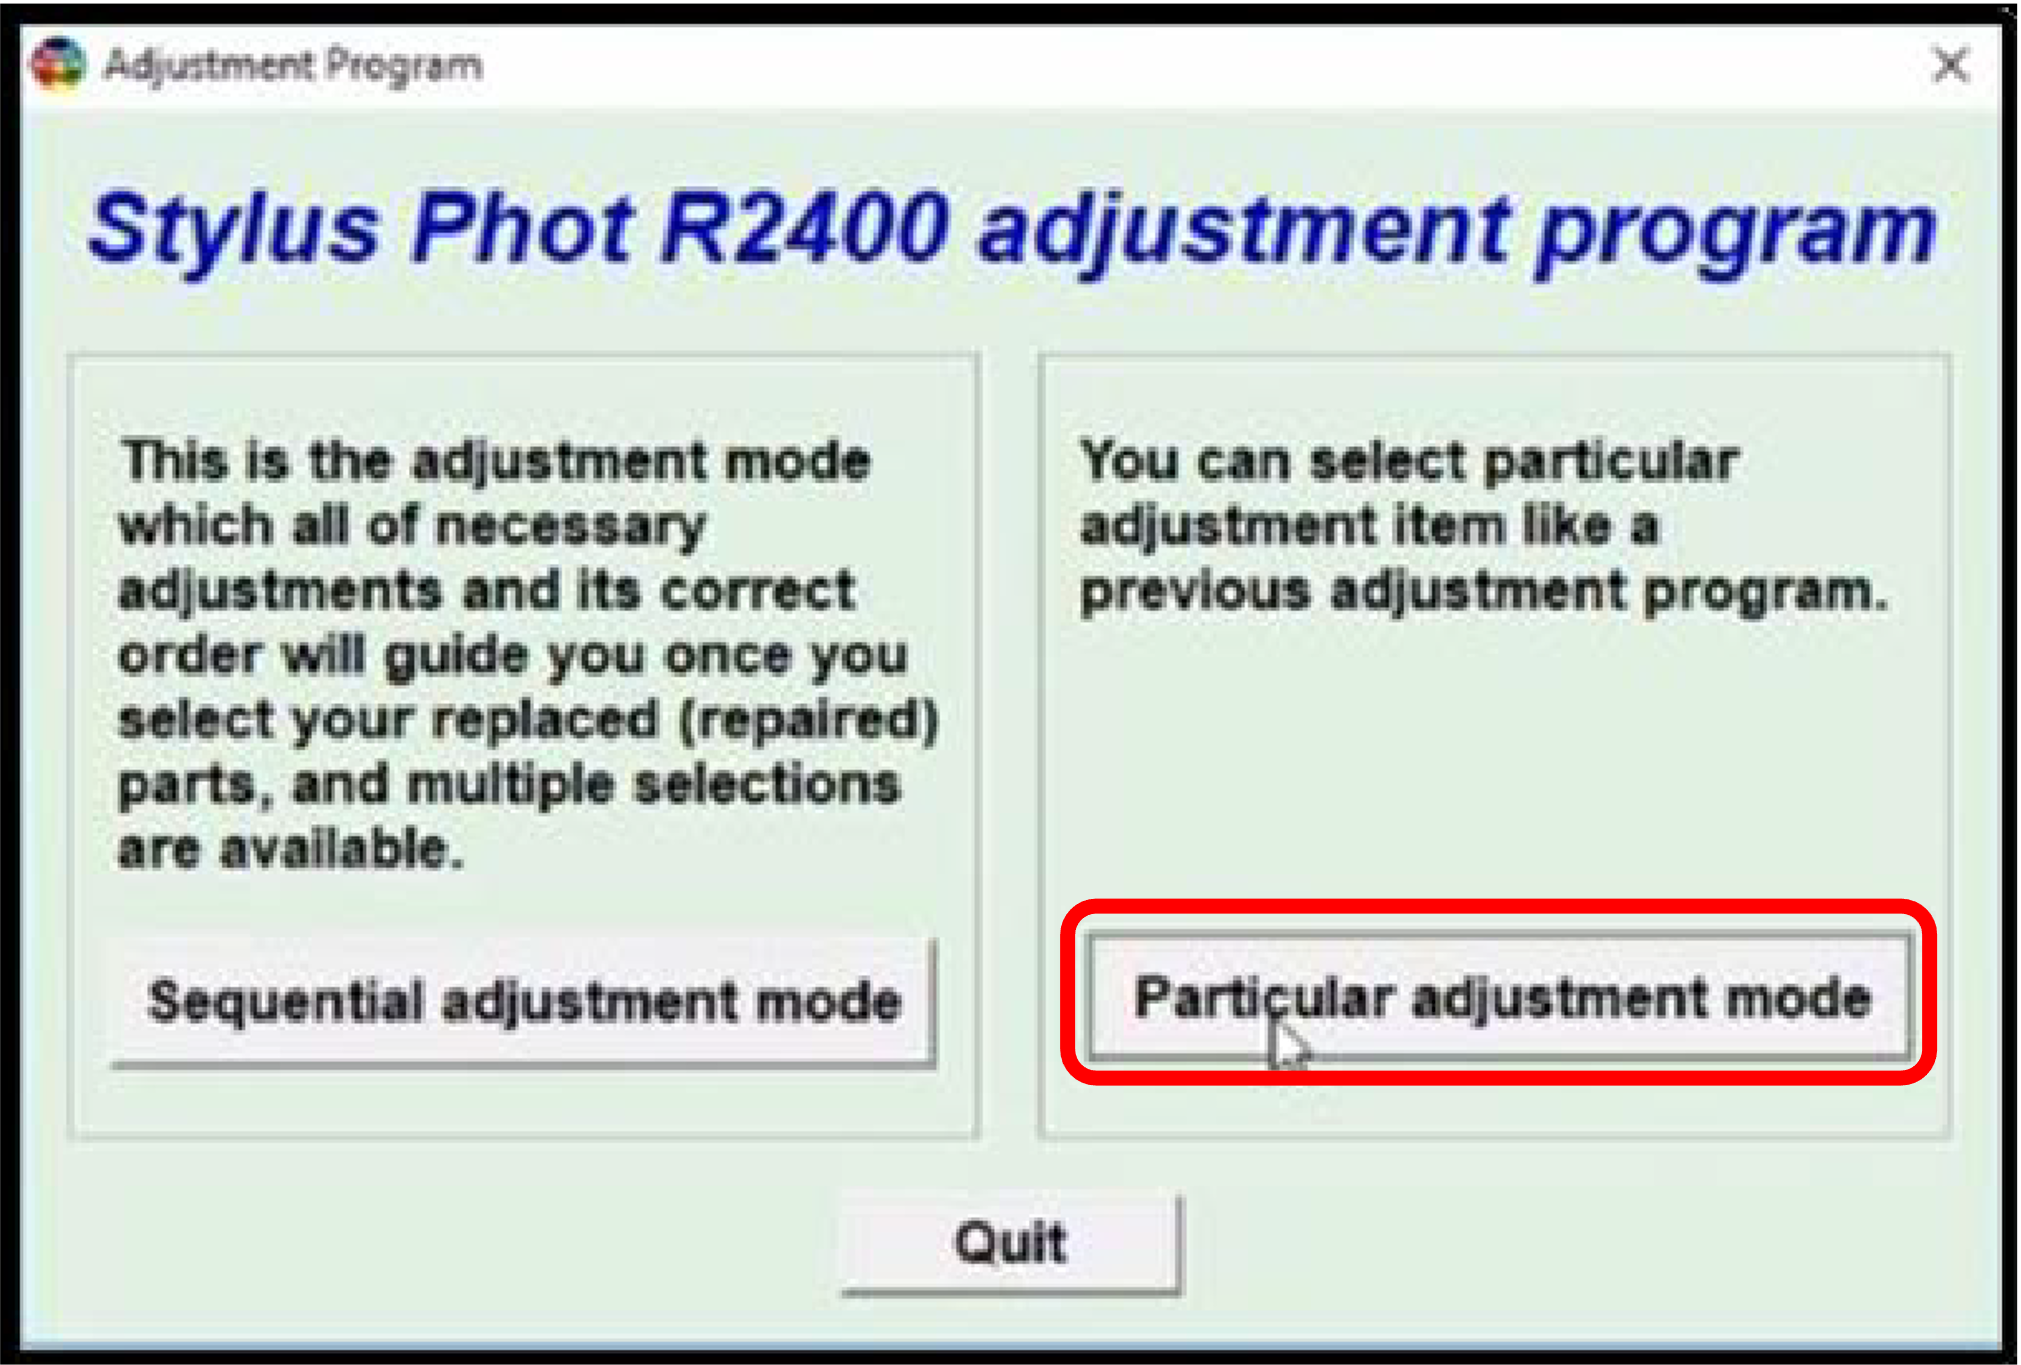
- Click on the ‘Particular adjustment mode’ button.
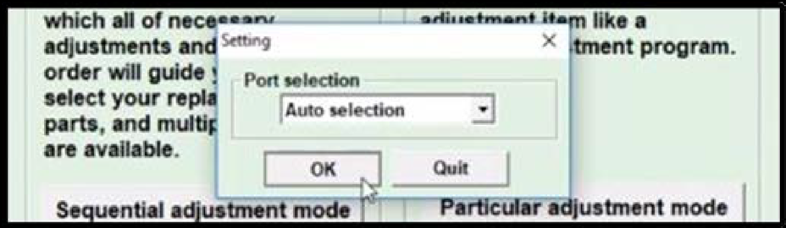
- In the pop-up window, confirm that the Port selection is set to ‘Auto selection’, then click ‘OK’.
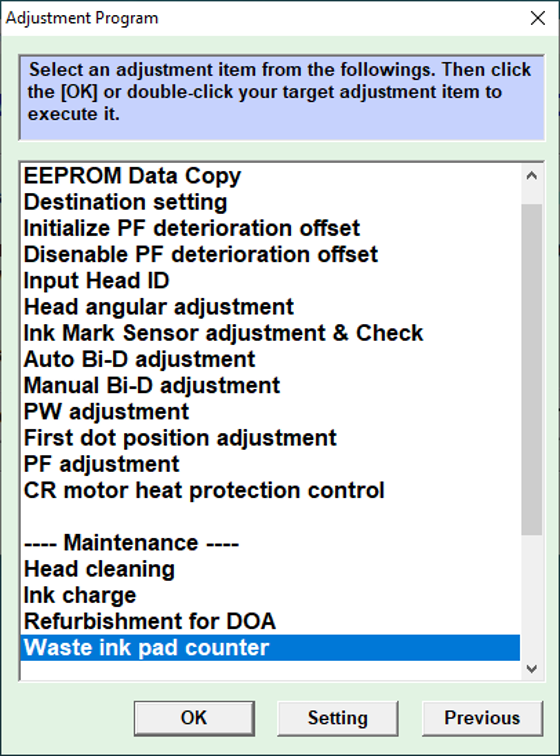
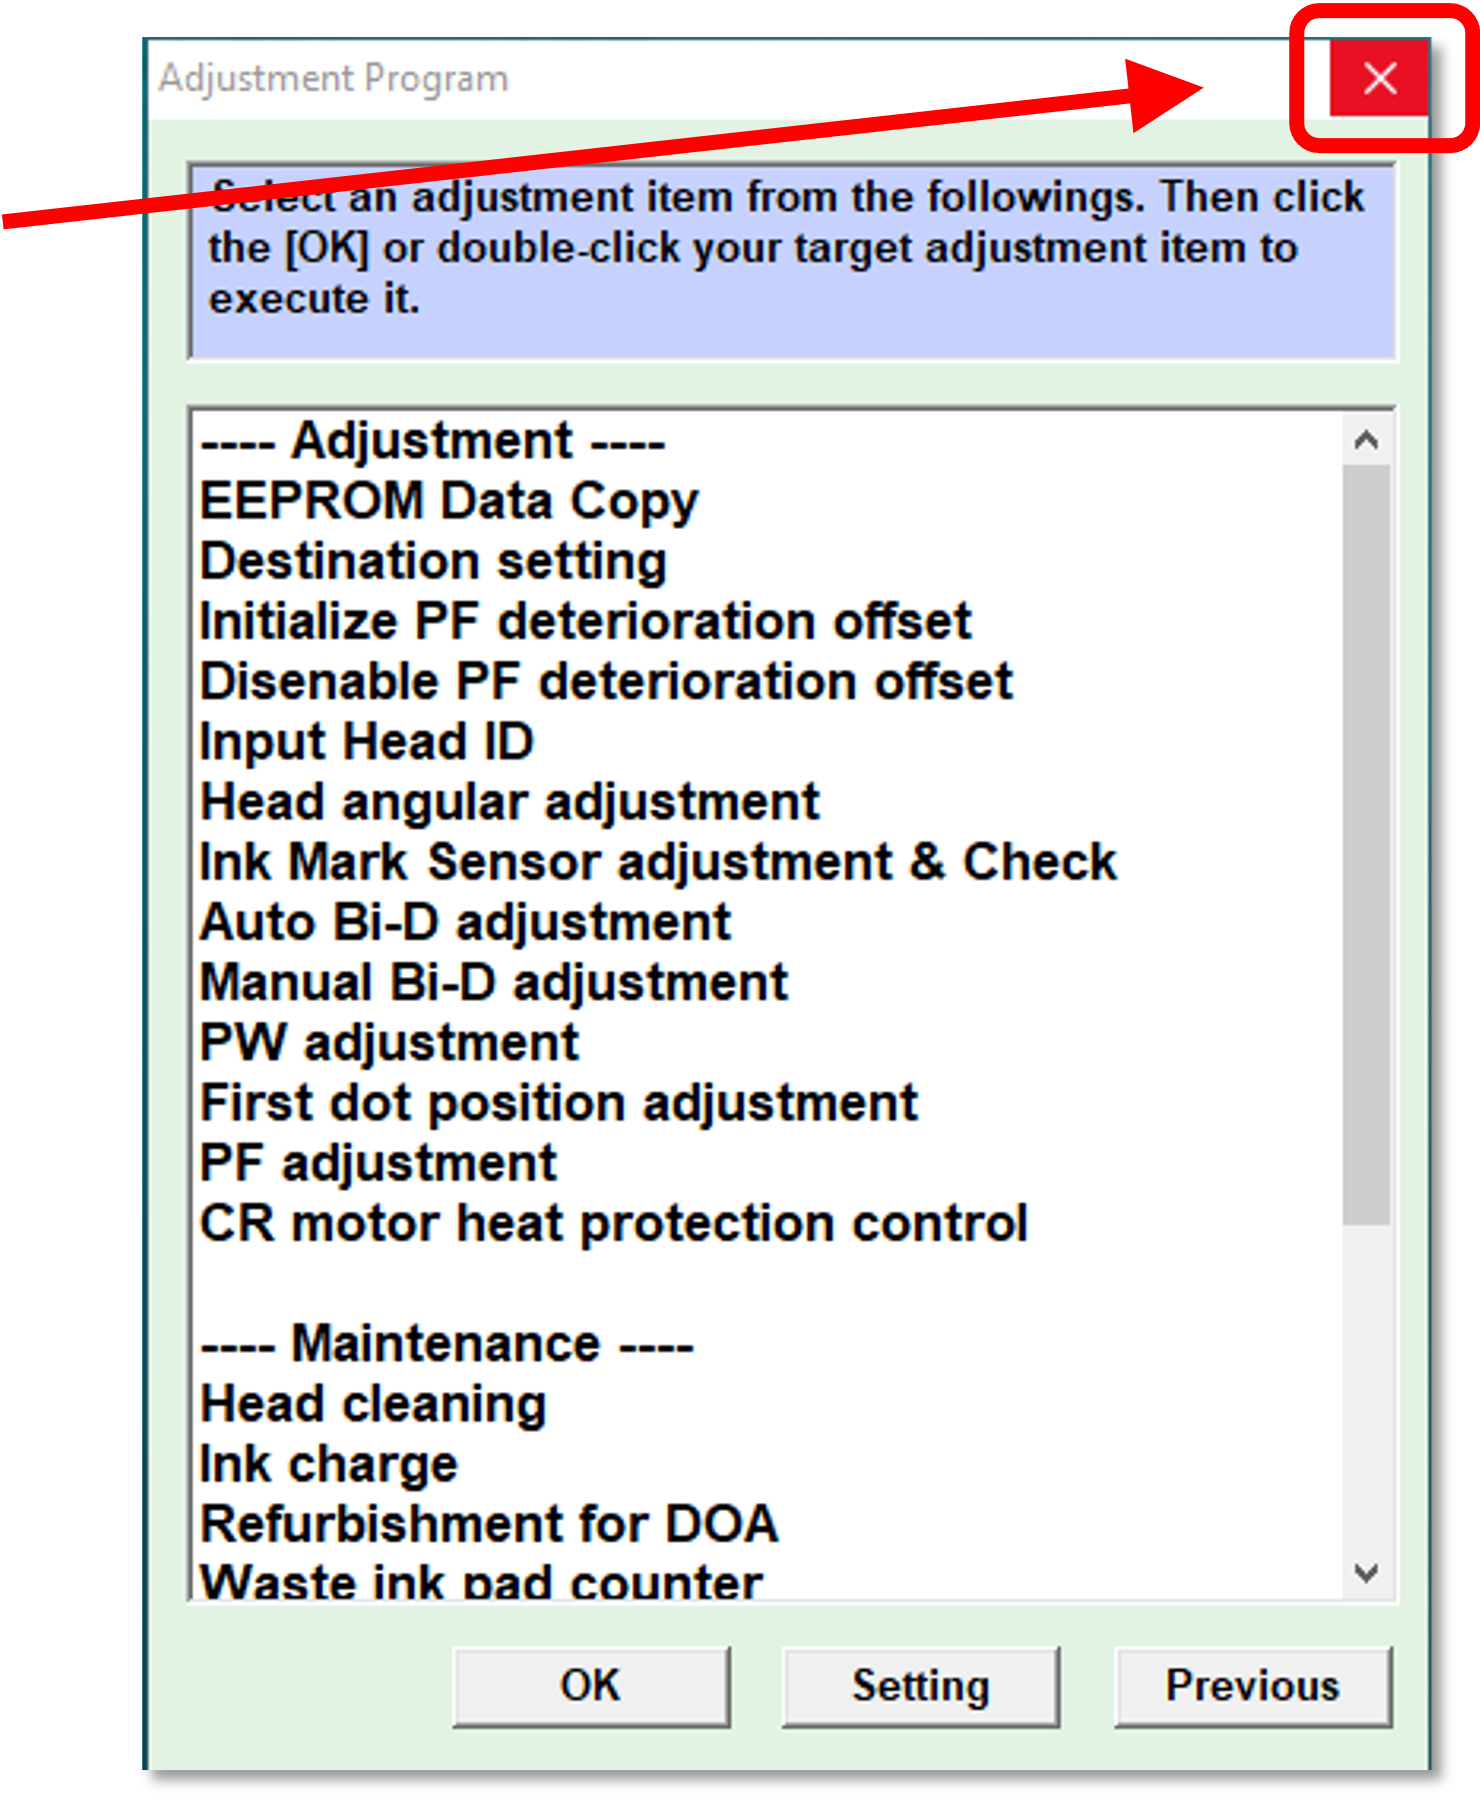
- When the Adjustment Program window appears, scroll down to the ‘Maintenance’ section and select ‘Waste ink pad counter’, then click on the ‘OK’ button.
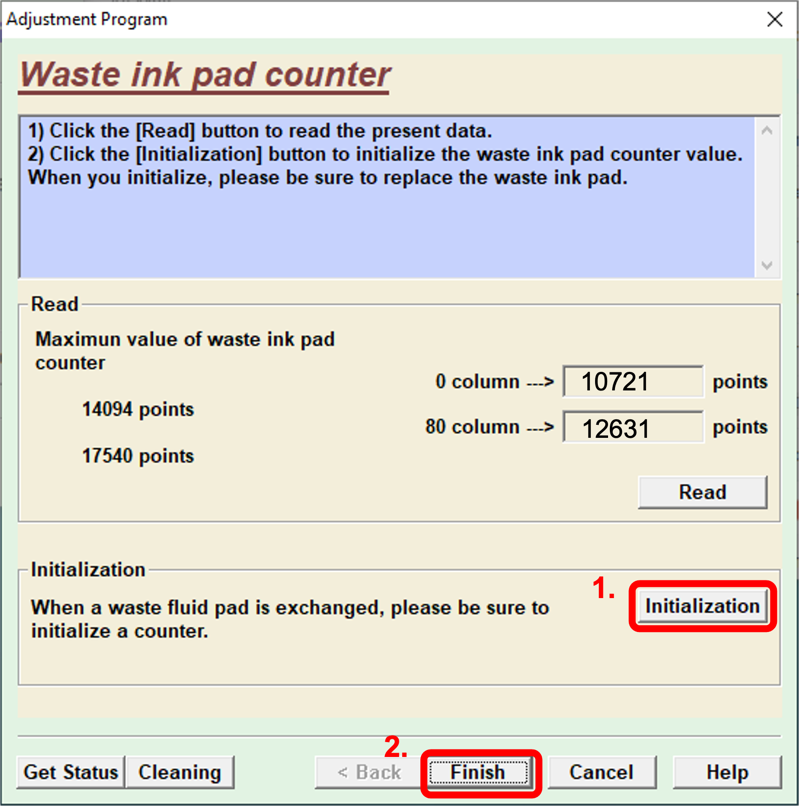
- Click on the ‘Initialization’ button to reset the waste ink pad counter, then click ‘OK’ to close the informational window which pops up, then click ‘Finish’.
- Click the ‘x’ in the upper-right corner of the Adjustment Program’s menu screen to close that window.
- Click on the Adjustment Program’s ‘Quit’ button to end the program.
- Turn the printer off from the rear power switch, wait 5 seconds, then turn it back on.
Congratulations! The waste ink pad counter has now been reset.
Error Condition Requiring a Waste Ink Pad Counter Reset
If a waste ink pad counter reset isn’t performed on a routine basis, the ‘Error’ and ‘Ink’ lights on the control pad will eventually begin flashing — blinking in an alternating pattern. Once this has occurred the printer will no longer accept print jobs until we acknowledge and clear the error, using the procedure detailed above. But there’s no need for that to happen.

Rather than wait for this to happen, we proactively check the waste ink tank level visually to avoid overfilling, and we use the Adjustment Program to reset the counters which trigger the error condition. By doing this as part of routine maintenance, we avoid ever having a print job interrupted by the error condition.
The absorbent waste ink pad at the bottom of the waste ink tank should be replaced once it is thoroughly saturated. This waste ink tank is the chrome, rectangular box at the left end of the printhead carriage. See our article about replacing consumable parts for details on how to replace the pad.
Not finding what you need?
You can contact our technical support team by sending an email to support@omniprintonline.com with your company name, contact name, phone number, printer serial number, and a quick description of how we can help you.
This will automatically open a support case for you in our ticketing system and a technical support rep will follow up with you shortly.