The OmniDTF & DTF Mini printers use the TCP/IP (Transmission Control Protocol/Internet Protocol) over an Ethernet connection to communicate with your PC. This requires a one-time configuration in Windows, which OmniPrint Training sets up for you during your initial training session.
The following information will help you to perform that same configuration if you should ever need to update your PC’s Ethernet adapter or if you’ve reinstalled the OmniDTF UI and Print Pro software onto a new PC.
There are two pieces of software where we configure TCP/IP parameters: Microsoft Windows (Control Panel) and Print Pro. We’ll cover both in that order.
Microsoft Windows
Windows Control Panel’s Network and Sharing Center is where any Ethernet adapters to be used in a Windows PC are configured. Use the steps in the below video or the following written instructions to configure an Ethernet adapter for use with the OmniDTF & DTF Mini.
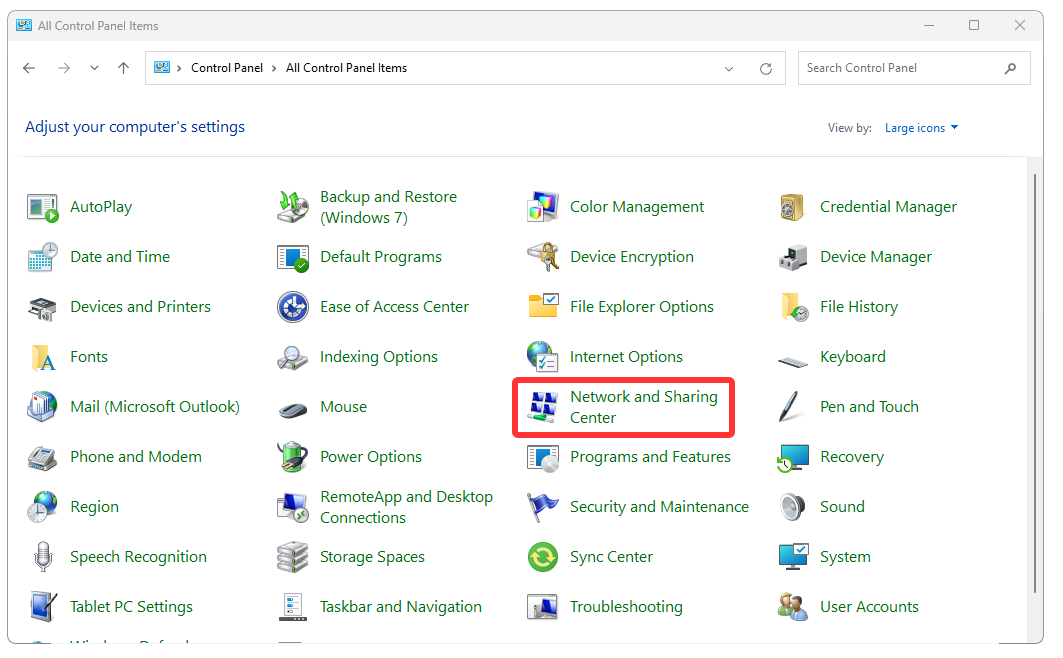
- Run Windows Control Panel.
- Click on Network and Sharing Center.
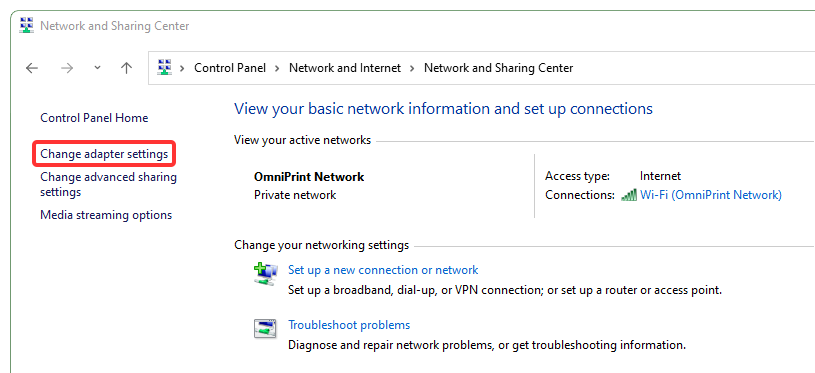
- Select Change adapter settings
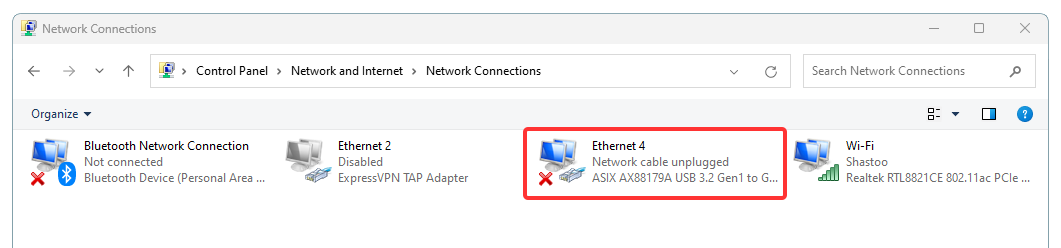
- Double-click on the Ethernet adapter to be used (or right-click on the adapter and select Properties).
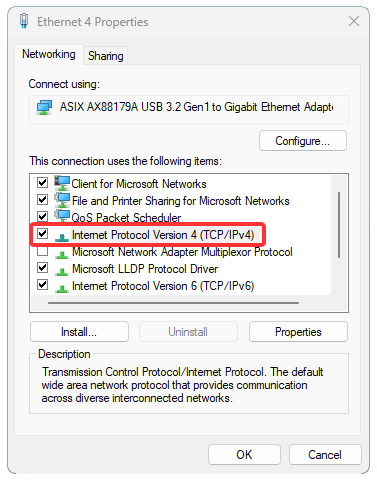
- Double-click on Internet Protocol Version 4 (TCP/IPv4) (or single-click on it and then click the Properties button).
- Click the Use the following IP address radio-button (if it isn’t already selected) and enter the following, then click ‘OK‘.
IP address: 192.168.127.12
Subnet mask: 255.255.255.0
The Windows Control Panel Ethernet configuration is now complete!
Print Pro
Also, Print Pro needs to know the IP address to use for its communication with the printer. Follow the steps in the below video or the following written instructions to set that up.
- Run the Print Pro program.
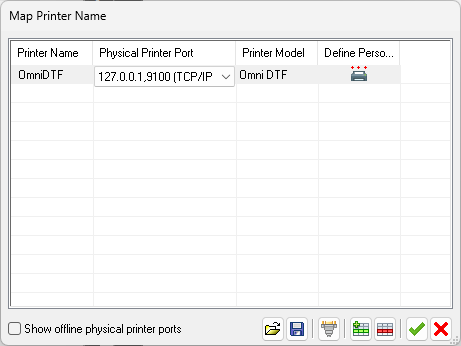
- From the Home tab, click on Printer Name Mapping.

- Double-click on the first cell space under the Physical Printer Port heading.
- Click on the drop-down lists’s down-carat symbol (downward pointing triangle) at the right end of the cell/box.
- Select “127.0.0.1,9100 (TCP/IP ,RAW)”.
- Double-click on the first cell space under the Printer Model heading.
- Click on the drop-down list’s down-carat symbol.
- Select “Omni DTF” or “Omni DTF Mini”, depending on your equipment.
- Double-click on the first cell space under the Printer Name heading.
- Type any preferred name for the printer, such as “DTF” or “Mini”.
- Confirm that your settings look like the image below (depending on your printer model and Printer Name choice), then click on the green checkmark icon to save the settings.
The Print Pro Ethernet configuration is now complete!
Not finding what you need?
You can contact our technical support team by sending an email to support@omniprintonline.com with your company name, contact name, phone number, printer serial number, and a quick description of how we can help you.
This will automatically open a support case for you in our ticketing system and a technical support rep will follow up with you shortly.