How to Mount a Shirt on the Freejet Adult Platen (video)

Properly mounting garments onto the platen is important to prevent movement of the garment during the printing process and ensure that your prints are straight with no distortion.

Use the patented TucLoc(R) feature to secure the garment in place, but avoid stretching the fabric when tucking it in. Printing on a stretched shirt can distort the printed design when the fabric is released from the platen.

The below video provides a brief overview of the mounting process.

DTG/DTF Laundering Instructions

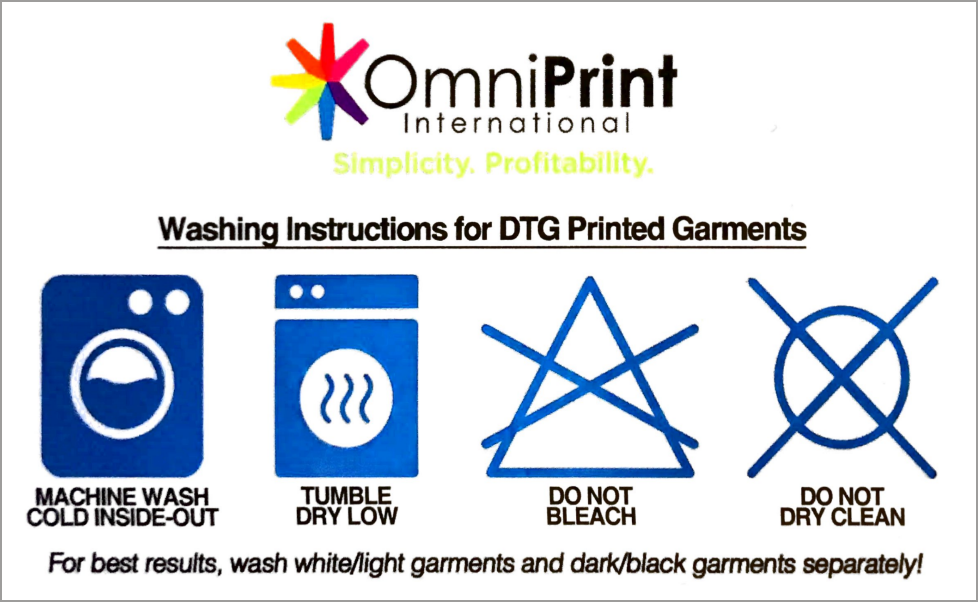
Improper laundering can cause shirt-color dye migration, prematurely “age” your prints, and otherwise damage your printed garments. Please follow these simple laundering guidelines and communicate them to your clients to maximize the durability of your prints and customer satisfaction.

  • Turn the garment inside-out.
  • Wash in cold water.
  • Tumble dry at the lowest available temperature.
  • Wash with like colors, preferably the same color.
  • No bleach.
  • No dry cleaning.

Setting Up a Freejet Print Job: The Basics

This brief article is for those who just need a reminder of the high-level steps to confirm that they aren’t missing anything. For the details of each step, see the link at the bottom of this article for step-by-step instructions.
DirectRIP
  1. Load the image to be printed
  2. Select the appropriate Environment for your garment
  3. Set the desired size of your print
  4. Set the position of your print (typically top-center)
  5. Select the port that your printer is on
  6. Set a margin, if desired
  7. Set the white underbase choke (unless printing on a white shirt)
Remember that the total size of your print design plus any margins must be within your platen’s dimensions (12.5” x 18” on the standard adult platen).

Freejet 330-Series Quick Reference Guides

The Quick Reference Guide is a handy collection of information targeted to new customers, and it is also a great resource for more experienced customers who need a quick reminder of how to reach OmniPrint, the steps in starting up the printer, etc.

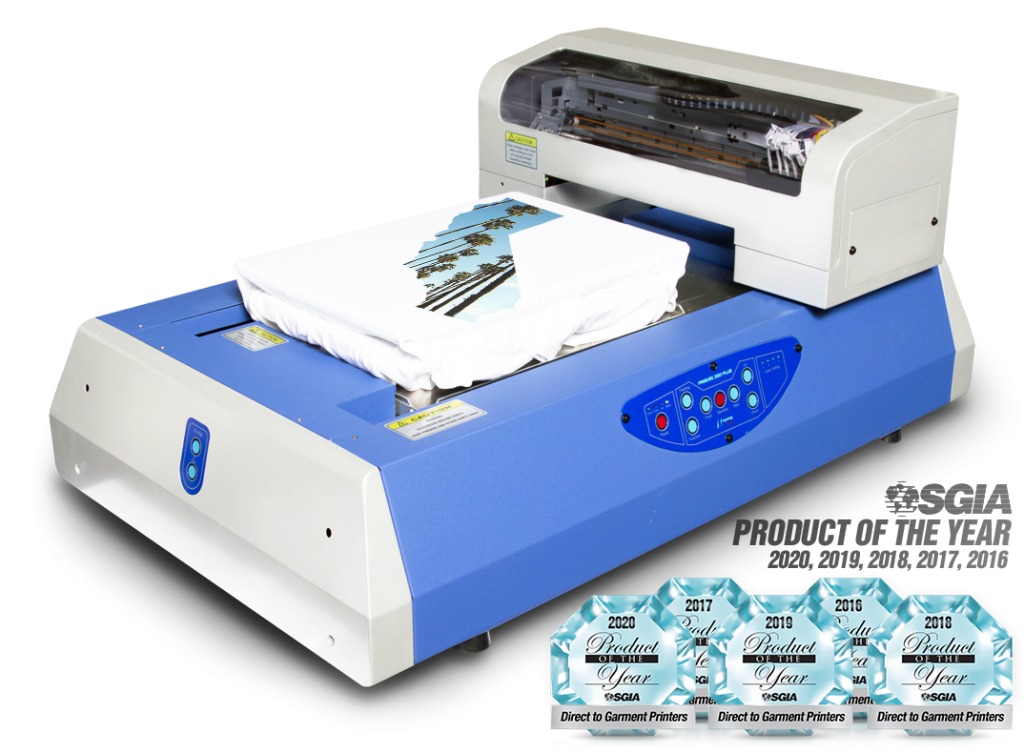
Freejet 330TX - SGIA Product of the Year 2020, 2019, 2018, 2017, 2016

The Maintenance Log sheets are particularly valuable to anyone & everyone who uses a Freejet printer, to make sure the required preventative maintenance is being performed on the recommended schedule.

Here’s a breakdown of the contents.

  • Support and Training Contact Information
  • Head strikes: What they are and how to avoid them
  • Environment and Shelf Life
  • Control Pad Quick Reference
  • Start Up Routine
  • Setting Up a Print in DirectRIP
  • DTG Success Formula
    • Garment selection
    • Pretreatment & Print Quality
    • Artwork design for DTG
  • Maintenance
  • Consumable Parts
  • Products & Supplies Price List
  • Maintenance Schedule Log Sheets

Download a copy of the Quick Reference for the Freejet 330TX or 330TX PLUS from the below links.

Artwork Design for DTG & DTF

All good quality prints begin with good quality artwork. The best quality shirts, perfect pretreat application, and excellent inks & printers cannot correct problems with the actual image being printed.

Image Creation Guidelines

Aesthetic qualities aside, there are a few important considerations when creating or sourcing any artwork for DTG & DTF printing.

  • Transparent background: Unless you want a rectangular print for creative reasons, be sure to make the background transparent. This will not only make the subject of your artwork pop visually, it will also save all the ink that would otherwise be used to print the background.
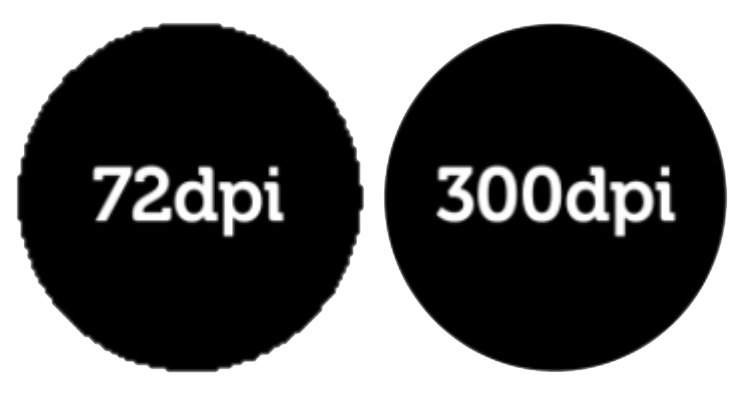
  • 300 DPI resolution: The higher the resolution of your artwork, the better your print can look. We recommend using 300 DPI to avoid jagged edges on curves.
  • Size artwork to desired print size: Expanding or zooming in on artwork causes jaggy curves, so create your designs at the size you’ll be printing or larger.
  • PNG: Our recommended file format is PNG for storage efficiency (with lossless compression) and support for transparent backgrounds & opacity. TIF, PSD, JPG, GIF, and other formats also work with our DirectRip software, but PNG has the best combination of features, is most commonly used, and is widely supported by graphics creation & editing software.
  • RGB: Yes, your printer uses four-color CMYK inks, plus white for the underbase and highlights. However, the DirectRip software is optimized to convert the RGB colors commonly used for PC computer graphic work to CMYK+W when printing. So we recommend using RGB for your design.

Working with Customer-Provided Images

Customers may request that you print a design that they provide to you as a graphic file. This in itself is not a problem, but it’s important to check the parameters of their designs and let them know proactively if you have quality concerns. As mentioned above, make sure any file you accept is 300 DPI and sized appropriately for the size of print they want to have.

Downsizing is easy & quick to do in DirectRip, so oversized images are fine. But images that are much smaller than the desired print size will not result in the quality of print that you want associated with your DTG printing business.

The same goes for use of clip art or images saved from the Internet. Make sure they’re designed for larger format printing using the parameters referenced above.

Your printer can produce incredible quality prints! Don’t let your reputation for quality printing take a hit due to poor quality source graphics.

Consumable Parts & Routine Maintenance

Consumable parts are those parts that are expected to require replacement on a regular basis, as part of normal maintenance for optimal performance and reliable operation, not due to any manufacturing defect.

While consumable parts are expected to require replacement as part of normal system maintenance, you can maximize the service life of these components by staying on top of your routine maintenance schedule.

Parts that are exposed to both ink and air need to be cleaned after each day of usage, to prevent ink from drying and building up over time. Ink build-up on the capping station, wiper blade, or printhead undercarriage can result in nozzles clogging and potentially require replacement of the printhead. Diligent and thorough maintenance is the best way to minimize the need for consumable parts replacement.

Probably the most familiar examples of consumable parts are tires and air & oil filters on a car. The fact that they have to be replaced periodically does not point to any type of flaw — it’s normal and expected.

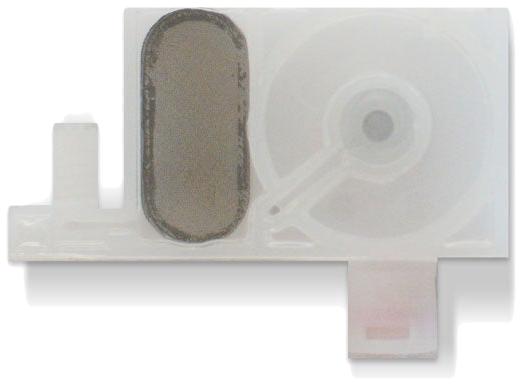
damper

A damper for the Freejet 330-series DTG printers — a consumable part.

Some of our consumable parts are dampers, ink clips, ink tubes, o-rings, and pumps. Just like tires wear out, so do consumable parts on your printer. These types of consumable parts periodically need replacement due to normal wear.

Your warranty does cover any defects in parts or workmanship, and if a consumable part is deemed by OmniPrint staff to have been defective on a brand new printer it will be covered. We also provide a limited warranty on the printhead against spontaneous clogging, while other DTG manufacturers typically treat print heads as consumable parts. (Damage or clogging due to head strikes or lack of maintenance is not covered.)

How DTG Printing Works

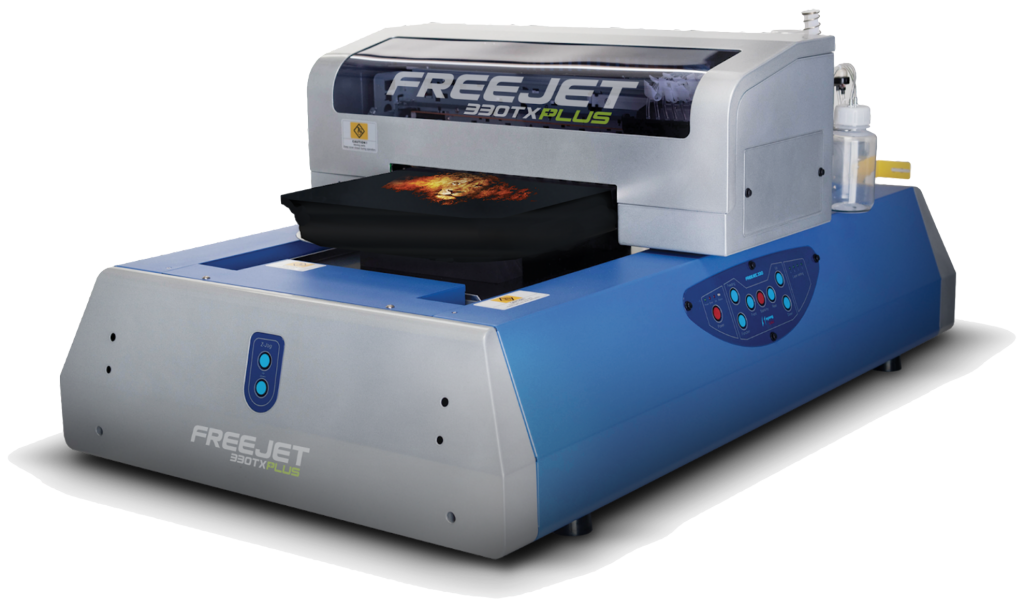
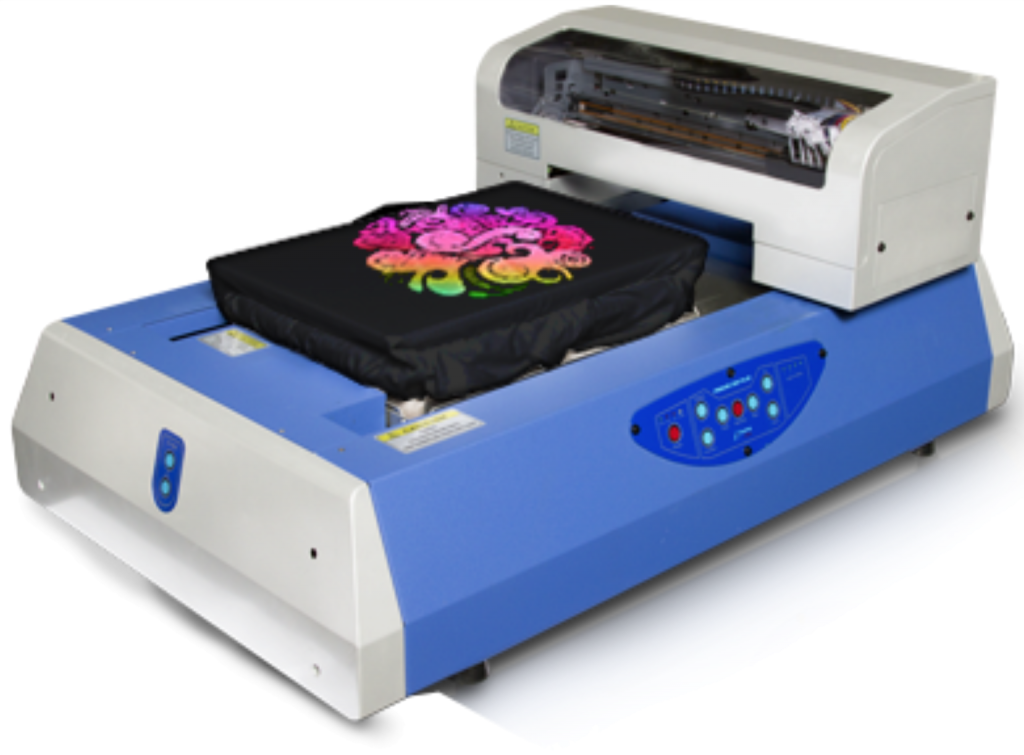
OmniPrint's Freejet 330TX DTG printer

You may be familiar with screen printing. And even if you’re not familiar with it, the name gives you a clue – printing that is done using a treated screen as a stencil. But with Direct to Garment (DTG) printing, it’s a little more vague because the name doesn’t tell you much about the technique.

DTG is a process of printing graphics onto textiles and garments. It uses modified inkjet technology to print any type of graphic onto t-shirts, hats, bags, masks, jeans, and even shoes. It isn’t a complex process, but there are multiple steps and some key factors that contribute to print quality. Here’s an overview of the DTG steps:

  1. Create a design
  2. Load the design into a DTG Rip/Print App
  3. Pretreat the garment
  4. Dry the pretreatment
  5. Mount the garment
  6. Print the garment
  7. Cure the ink

Let’s take a closer look at these steps.

Create Your Design

One of the most important factors for a high quality DTG print is a high quality design file. Designers use graphic design software such as Photoshop and Illustrator to create their artwork in high resolution. These designs can be anything from geometric shapes to company logos to digital photographs.

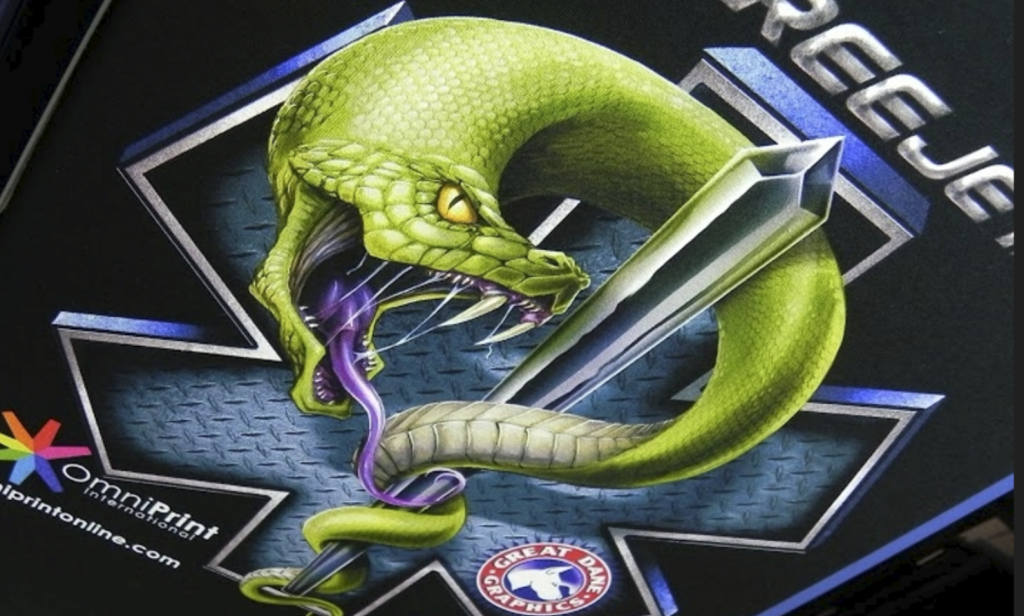
Example graphic of a t-shirt print design.

Load the Image into a DTG RIP/Print App

After the design is complete it needs to be loaded into software that can RIP (raster image processing) the image, and then print it. OmniPrint’s software is called DirectRip. Before ripping the image, the print settings are configured. DirectRip simplifies this process by providing Environments that lets you simply select the type of garment that will be printed. Based on that Environment selection, DirectRip then loads a group of presets. Other parameters that can be set include resizing, positioning, and margins.

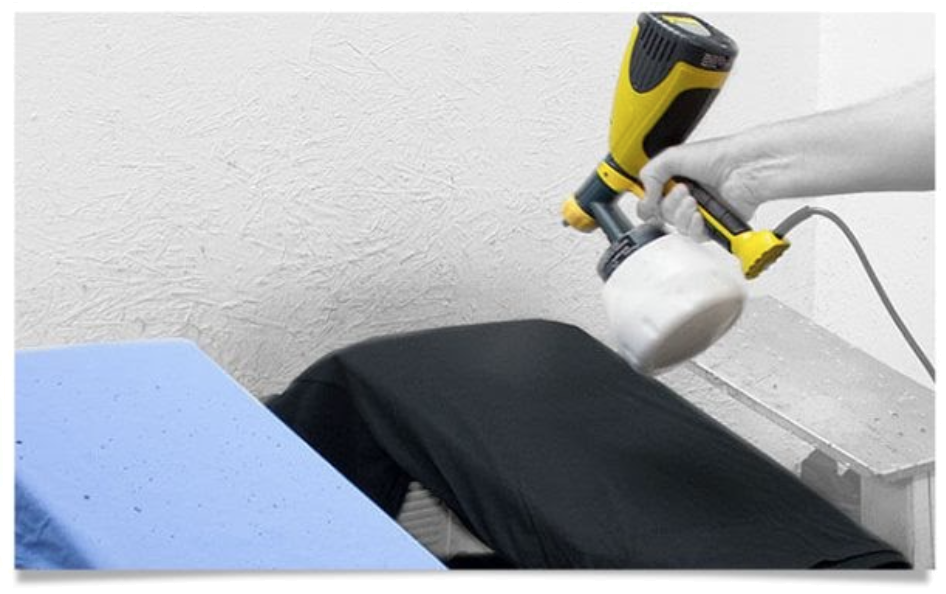
Pretreat the Garment

Properly pretreating the garment is another important factor for creating a high quality print. Pretreatment is like an adhesive that sticks to the garment’s fibers and allows the ink to bond to those fibers. The chemical composition of this adhesive pretreatment material also causes the “underbase” layer of white ink (which is used like a painter’s base coat of primer when printing on colored shirts) to quickly gel. This prevents the CMYK inks from blending with the white underbase and provides great color vibrancy.

Too much pretreatment can make the colors bleed and prevent the ink from bonding with the fabric’s fibers. Too little pretreatment and the ink will disperse too much into fibers, resulting in a light or dull print. 

Since getting a proper and consistent amount of pretreat onto each garment is critical to image quality, pretreatment machines have become very popular. Pretreatment machines provide consistency of spraying that can’t be achieved manually.

Dry the Pretreated Garment

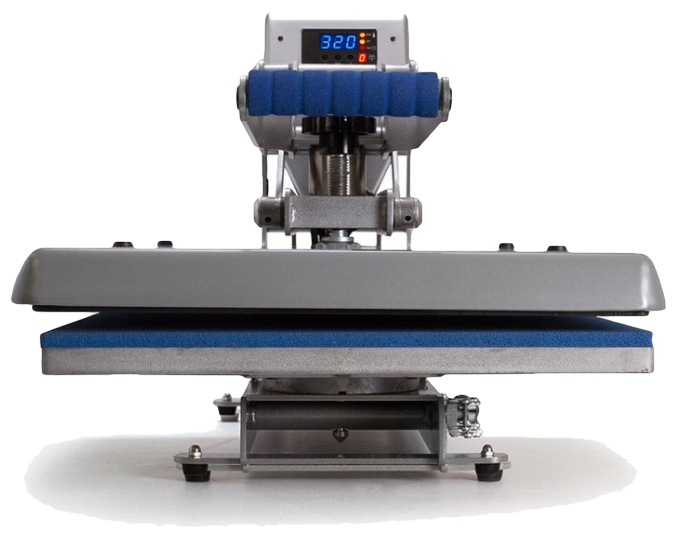
Once the garment is pretreated it will be damp with pretreatment solution. It’s necessary to dry the print area before applying inks. The best method to dry the garment is using a heat press. This will quickly ensure the print area is dry and ready to print, and the pressure of the heat press also helps to ensure that the pretreatment bonds well to the fabric’s fibers.

Mount the Garment onto a Platen

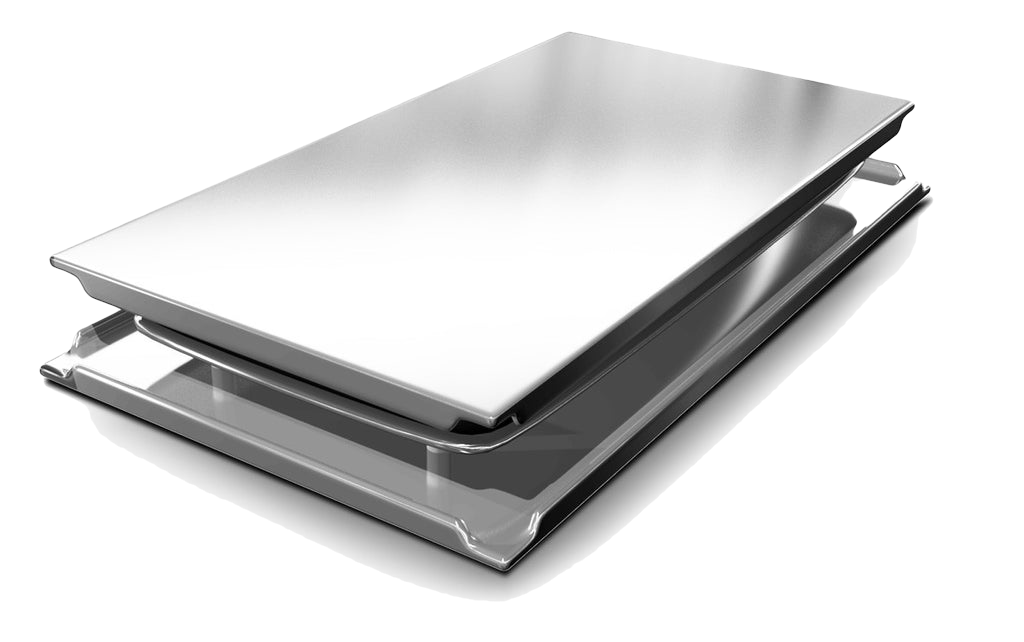
OmniPrint Standard Adult Platen

DTG printers utilize a platen to hold the garment in place as the print head jets ink onto it. The garment is carefully mounted onto the platen to ensure that a perfectly flat surface presented to the print head, properly aligned so that the image is printed exactly where it is expected to be.

Now that the image is loaded and ripped, and the garment is pretreated and mounted, it’s time to print. The print will be initiated from the DTG Rip/Print software, once the printer is properly prepared to print. Preparing the printer to print includes any required preliminary setup steps (depending on your printer model) such as cleaning the print head, setting the platen height, etc.

Cure the Ink

Once the printer finishes printing, the ink will be wet. It’s necessary to cure the ink on the garment. Curing the ink properly is very important for achieving good washability, meaning that the image will remain vibrant after many laundry cycles. The curing process requires that the ink reach a specific temperature and that it be maintained for a designated period of time. For example, we would cure a black cotton shirt at 320-degrees Fahrenheit for 180 seconds.

DTG vs. Screen Printing

Screen Printing

“The technique of creating a picture or pattern by forcing ink or metal onto a surface through a screen of fine material.”

Oxford Languages

Traditional screen printing is a printing method where ink is pushed through woven screen stencils onto fabric. The ink doesn’t soak into the fabric but lays on top of the fabric.

To transfer the ink, a special screen is made for each color in the design. Then, the inks are mixed for each color in the design. Each color is printed onto the garment, one by one, through the screen stencil prepared for that color in the design. The more colors in the design, the more screens must be prepared and the more instances of applying the ink for each color. Once those screens are created and inks mixed for each color in the design, it’s easy to produce a large volume of prints in a timely manner.

The best designs for screen printing are solid graphics without small detail — designs with simple symbols, geometric shapes, and basic typography. This is because making screen stencils for detailed graphics with many colors is very time-consuming and it’s difficult to get fine details right. Screen printers often need to limit the amount of color in a design to reduce set-up time and costs.

Direct to Garment (DTG)

DTG printing is a process of printing graphics onto textiles and garments using an inkjet print head. DTG printers utilize a platen to hold the garment in place as the print head jets ink onto the textile.

Typically, the textile is pretreated with a special adhesive that sticks to the garment’s fibers and allows the ink to bond to those fibers. The chemical composition of this adhesive pretreatment material also causes the “underbase” layer of white ink (which is used like a painter’s base coat of primer when printing on colored shirts) to quickly gel. This prevents the CMYK inks from blending with the white underbase and provides great color vibrancy.

DTG can print just about any type of graphic. All you need to do is load an image into the printer’s software, select a few settings, and click print. Any type of design can be printed, even those with complex graphics and thousands of colors.

Because there are no screens to prepare, DTG has a considerable setup time advantage over screen printing. Depending on the fabric and graphic, DTG may take more time for the actual print. But, since setup is very minimal, DTG enables on-demand order fulfillment with no upfront costs, making one-time and lower quantity print runs economical.

Both screen printing and DTG produce quality prints, but with differing setup methods and costs. Here’s a chart detailing advantages and disadvantages:

DTG
Printing
Screen
Printing
High-quality printsYesYes
Detailed designsYesNo
Unlimited color optionsYesNo
Order minimumsNoYes
On-demand fulfillmentYesNo
Bulk discountsYesYes
Significant setup costs per designNoYes
SustainableYesNo